
In Depth Tutorial
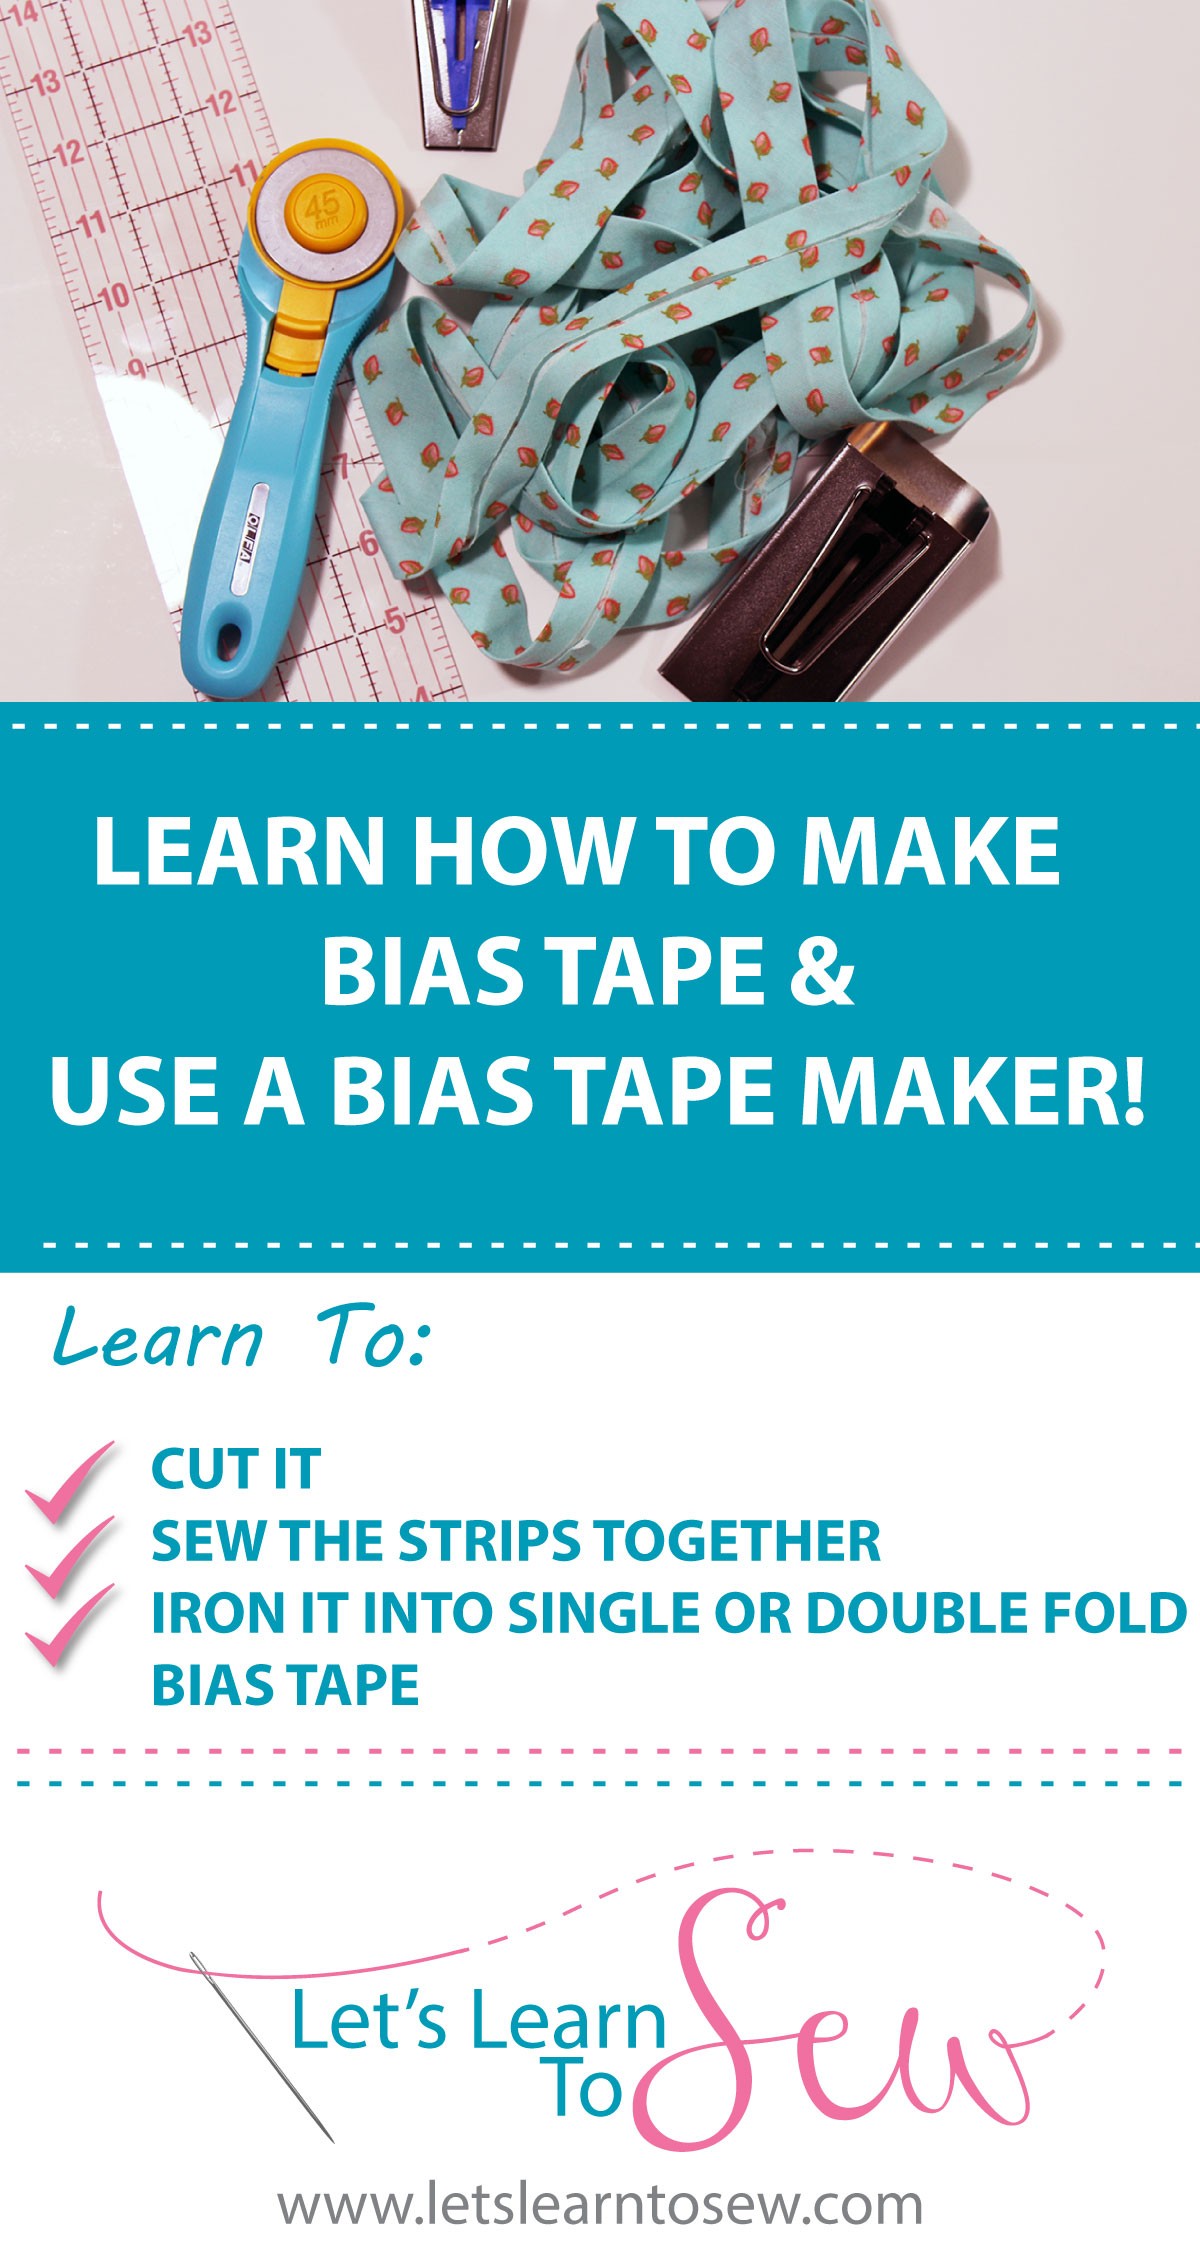
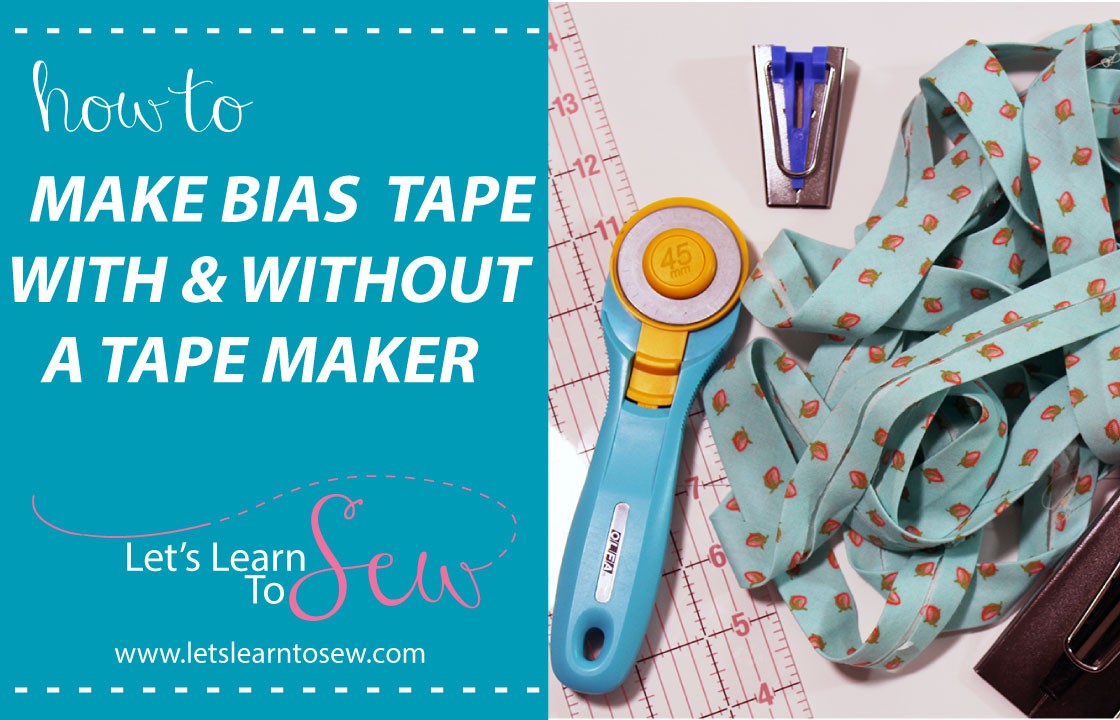
Are you ready to learn how to make bias tape? You only need a few tools and an iron; a 1/2 yard of fabric is transformed into 9 yards of double-fold bias tape!
How to Make Your Own Bias Tape is a beginner-level sewing class. In this class, I’ll show you how to make your own custom bias tape. This set of videos is longer than my YouTube video and includes more details for those who may be new to using a rotary cutter and or a quilter’s ruler.
What You’ll Learn
- Cut it
- Sew the strips together
- Iron it into single fold bias tape with and without a bias tape maker.
- Iron it in double fold bias tape with and without a bias tape maker.
By the end of this class, you’ll know how to create bias tape from your favorite fabric for any project that calls for it!
If you prefer a quick rundown, you’ll find everything you need to know in the video below!
The Bias Tape Maker
The Bias Tape Maker is an ingenious little tool. (Tools, actually, since they are available in multiple sizes.) If you have ever tried to fold and press bias tape without one, you’ll know what we mean. How did we ever live without it?
What is it?
The Bias Tape Maker is a tool that feeds bias-cut fabric strips to make Bias Tape. What does all this mean? Here is a bit of background info. Bias: the diagonal grainline of fabric. To find the bias grain, fold the fabric diagonally, lining up the lengthwise grain (the selvage edge) with the crosswise grain (perpendicular to the selvage). The fold is the bias grainline.
Bias Tape, What is It?
Bias Tape is made from strips of bias fabric. The edges are folded under once for single-fold tape and twice for double-fold tape. Single-fold bias tape is great for surface embellishment. Double-fold bias tape is used to bind the edges of quilts and other craft or sewing projects.
How to Use a Bias Tape Maker
First, you must decide whether you need single or double-fold tape. The Bias Tape Maker makes only single-fold tape. If you want a double fold, simply fold it a second time before attaching it to the project. Double-fold bias tape will be half the size indicated on the tool.
1. Cut the fabric into the desired amount of bias strips at the required width. Follow the package for the recommended strip width. The width will be about twice the finished width of the single-fold tape, or about 1/4 the width of the double-fold tape.
2. Join the ends of the bias strips as in the tutorial “How To Cut and Sew Bias Strips.” Insert the end of the joined bias strip into the wide end of the tool. You will see an opening at the top center of the tool on the plastic side. Take a straight pin through this opening to help push the fabric to get it started.
3. The fabric will appear at the narrow end of the tool. Pull the fabric strip out about 1 inch. Pin it to your ironing surface.
4. Hold the metal ring of the tool with your left hand, slowly pulling it away from the pinned end. Holding the iron in your right hand, press the folded tape as it appears from the end of the tool.
Need More Help?
Still have questions? Let me know if the comments section below or hop over to our Facebook group!