Reading a Sewing Pattern
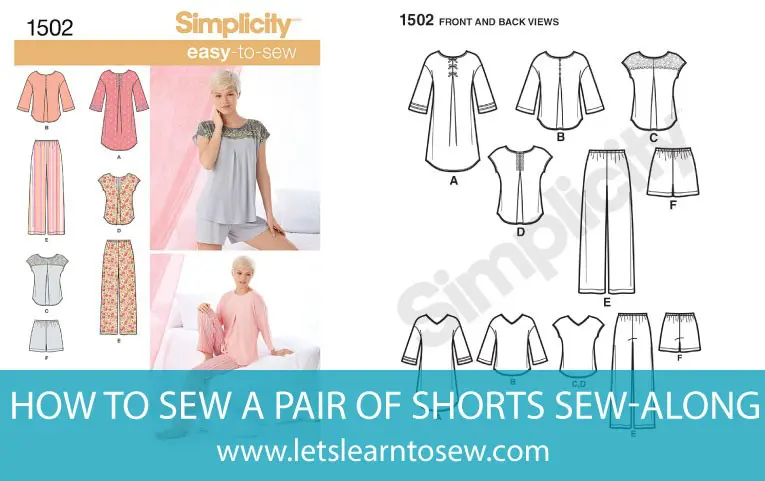
Even though a sewing pattern might be labeled "easy" or "quick," the pattern instruction writers sometimes assume that you have a certain amount of general sewing knowledge. Yet, nothing can be more intimidating than figuring out all the hieroglyphics on the various parts of a pattern. In this article I'm going to cover How To Read A Sewing Pattern. A video version is available in our shorts sew along video series.
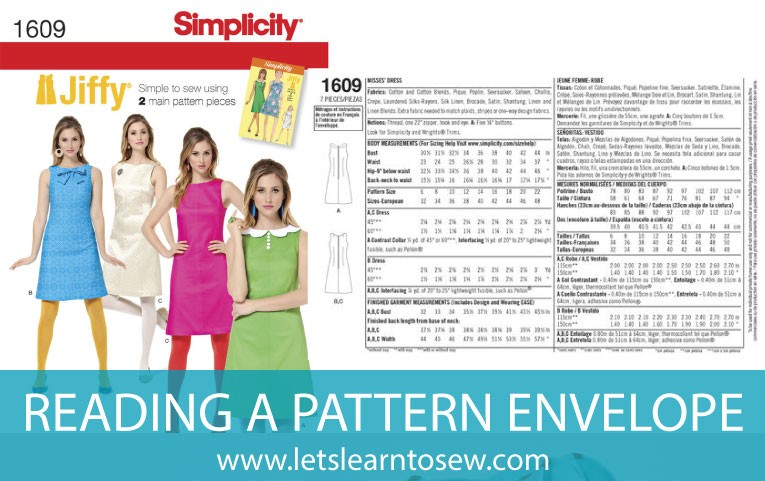
Reading The Sewing Pattern Envelope
The front of the envelope includes the pattern number, sizes that are included inside the envelope and several pictures of a model wearing the finished garment. The back of the envelope contains a lot of information to help ensure the final project comes out as expected. All sewing pattern envelopes contain the complete information to make the proper selection of fabric and notions. In addition, you will find sizing information, pertinent facts about the design features and concise yardage calculations. This information is presented in a logical manner and as a quick reference. If the back of a pattern envelope leaves you overwhelmed, this post and video are for you. Learn How to read a sewing pattern envelope with ease!
What's Inside The Pattern Envelope
Inside your pattern envelope, you find the following items necessary for your project:
- Pattern pieces: Some pattern pieces are printed on large pieces of tissue paper. Others are printed on sturdy pieces of white paper called master patterns.
- Key and glossary: These references help you decipher the markings on the pattern pieces.
- Pattern layout: The layout shows you how to layout the pattern pieces on the fabric yardage for each view.
- Step-by-step instructions on putting the project together: Instructions are written in various degrees of clarity depending on your knowledge of sewing.
The project instructions may run more than one page. If they do, staple the pages together in the upper-left corner and post them in front of you as you sew. Then you can quickly check off each step as you finish it. If you don't have a place to post the sheet, set it next to your sewing machine, folded to the section you're working on, for a handy reference.
How to Read Sewing Pattern Symbols
Sewing pattern symbols vary slightly by pattern brand or designer but have similar appearances and meanings. Read to understand the symbols from the pattern you are using before starting.
Learn the sewing symbols and their meaning to help you understand patterns better. The most common symbols are listed and shown below:
Adjustment Line
Usually shown as two solid, parallel lines, this symbol indicates where best to lengthen or shorten the pattern.
Cutting Line
Shown as a solid line, often with scissors to represent the cut, this symbol is shown on the edge of the pattern template and tells you where to cut.
Fold Line
The name and symbol vary slightly, but it usually looks like a solid or dashed straight line with a bracketed line above and two arrows pointing down to the line.
This symbol represents the edge piece of fabric aligned with the fold. The line indicates the fold. The fold should not be cut as that would cause problems when you try to attach this piece of fabric with the other half of the piece.
Grain Line
This symbol appears as a solid line. It can show an arrow on one or both ends. This is usually the first symbol you will see listed on your pattern. It indicates in which direction you will cut the fabric, following the grainline lengthwise. The grainline will always be parallel to the selvage unless otherwise noted.
Seam Line
Also known as the stitching line, this symbol is shown as a simple dashed line the majority of the time, and it indicates where you sew two pieces of fabric together. There are sometimes arrows showing which direction to go.
Center Front and Center Back
Used for alignment purposes, this symbol is represented as a straight line comprised of dashes and small dots. The center front runs vertically on the front of the pattern, and the center back runs vertically on the back of the pattern.
Darts
Related to the dots, squares, and triangles, this symbol is often shown as a V shape with a straight dashed line coming from the center of the V point and out. This marks where to fold and stitch the piece for curves, allowing fit for a body. When you're ready to start working with darts, we have several helpful articles and videos.
Dots, Squares, Triangles, and Other Shapes
Sometimes referred to as "symbols" on some patterns, these markings show you where to match parts of your sewing piece together.
Hip and Bust
This circle with two perpendicular lines inside (like a plus sign) represents the hipline and bustline, as well as the waistline and biceps when appropriate for garments.
Pleats, Tucks, Gathers
These symbols vary but will always be explained in a professional pattern, so pay close attention. Pleats are usually shown as circles at the corners or ends of lines.
The tuck symbol is often related to the dart symbol and is usually shown with an arrow pointing to the tuck point. The gather symbol is usually a wavy line, sometimes with arrows and other markings to indicate instructions.
Notches
Shown as diamonds and triangles combined with lines, these symbols represent matching seamlines.
Often, one diamond/triangle indicates the front of the sewing piece, two diamonds/triangles indicate the back of the piece, and three diamonds/triangles indicate another place on the garment.
Button and Buttonhole Marking
These are two different symbols, but one goes with the other. The button marking looks like a round button, and the buttonhole marking is usually a straight line with perpendicular notches on either end (and should be true to size).
Sometimes, an X is shown on the line where the button will be sewn. You will construct the buttonholes on the opposite side of your piece.
Seam Allowance
This symbol is commonly shown as a ruler with fraction markings, although it can also be a line or two with the fractions shown at the side. Sometimes the fraction is mentioned separately from the symbol.
Zipper Marking
Zipper markings are usually shown as a straight line with an arrow on either side at opposite sides pointing to the line. This symbol is only used if your sewing garment includes a zipper.
Now that you've figured out how to read your sewing pattern go ahead and dive into some of the sewing 101 articles and projects. Ready to use a sewing pattern and start sewing? Our shorts sew a long is a great project, to begin with.



Leave a Reply