• Bloglovin
  • Facebook
  • Instagram
  • Pinterest
  • YouTube
  • Skip to primary navigation
  • Skip to main content
  • Skip to primary sidebar
  • Skip to footer
Let's Learn To Sew
  • Home
  • Blog
  • Start Here
  • Sewing Basics
    • Sew Alongs
    • Pattern Making Basics
  • Online Workshops
    • Free Sewing Machine Boot Camp
    • Sewing 101
    • Sewing 101 For Kids
    • Serger 101
  • Sewing Patterns & Supplies
    • Resources
menu icon
go to homepage
search icon
Homepage link
  • Join Our Community
×

How to Use the Sewing Machine Beading Foot

October 19, 2018 by Margaret 3 Comments

How to Use the Sewing Machine Beading Foot to attach beads and pearls.


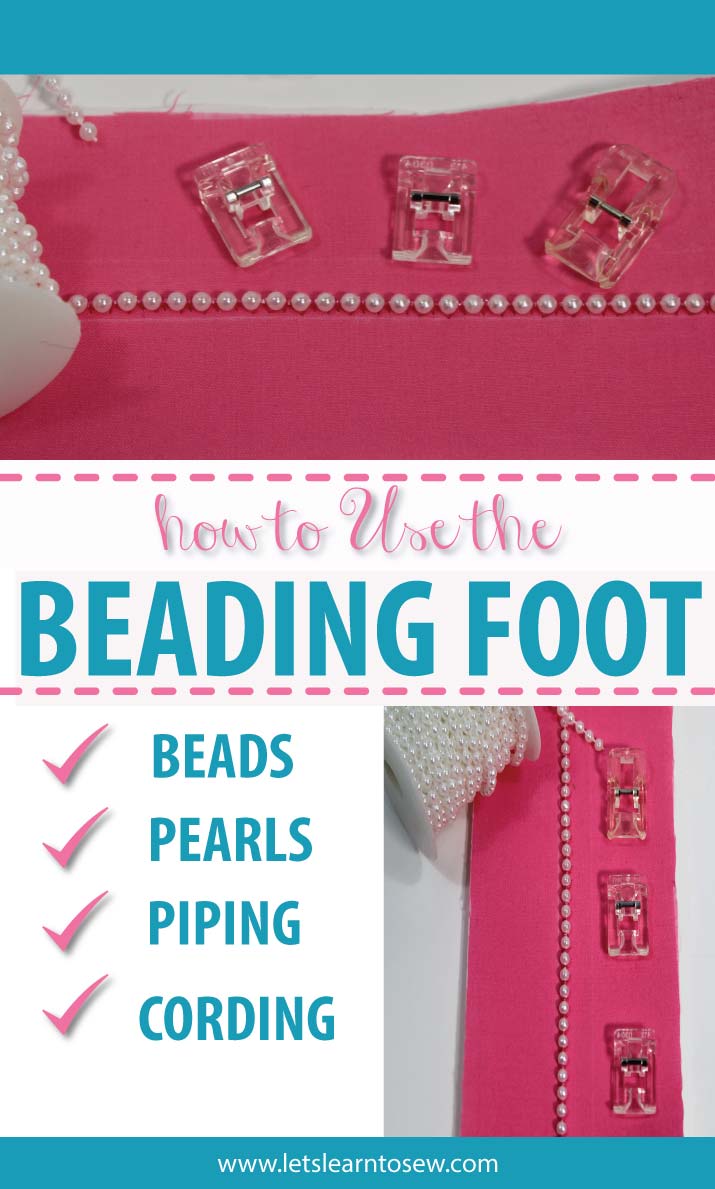
With the beading foot, you are able to attach strings of beads, pearls, and other stringed embellishments to your sewing project with your sewing machine.

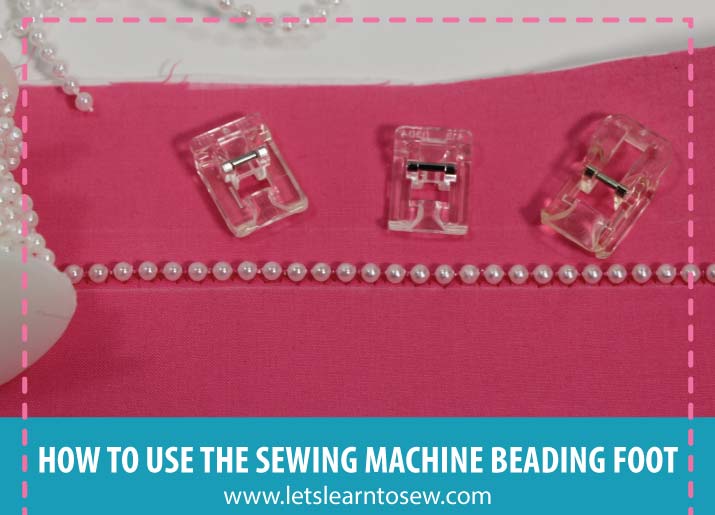
What the Beading Foot Looks Like

Beading feet have a deep groove or channel on the underside of the foot. The foot is usually short and chunky. The width and depth of the groove on the underside varies based on the size of beads it was designed for. Most machines offer the beading foot in three sizes: 6mm, 4mm, or 2-3mm. If your machine did not come with a beading foot you can usually find one on Amazon for around $6.00.

How the Beading Foot Works

The beads nestle into the groove on the underside of the foot. The machine is set to a zig-zag stitch. As the beads pass by a stitch is created between the beads. This creates a safe and secure stitch.

Depending on the weight of the fabric and the beads you may need to place some stabilizer under the fabric where the beads are being placed. As always a few test stitches are a good idea.

How to Use the Beading Foot

1. Snap on the Beading Foot.

2. Thread the sewing machine with a thread that matches the fabric or a clear nylon thread in the needle.

3. Set the machine to a zig-zag stitch and increase the stitch length and width just a bit.

4. Place stabilizer under the fabric if needed. Place the string of beads or pearls under the foot, laying them in the groove on the underside of the Beading Foot. Lower the presser foot. Turn the handwheel to make some stitches by hand carefully.

5. Begin sewing. If this is the first time to use the foot go slow. Do not push on the beads or pull the fabric from behind. All you need to do is guide the beads.


Pro-Tip: Stitch pearls to a scrap of fabric first to test thread tension, presser foot pressure, stitch length and width according to the beads. Make adjustments if needed. Stitch slowly.


As always, if you have any questions about this technique let me know in the comments section and I'll be happy to help!


The beading foot is used to sew beads or pearl strands to fabric. Learn to Use the Sewing Machine Beading Foot to attach beads and pearls.

Related Posts:

  • How To Use A Sewing Machine Button Foot
    How To Use A Sewing Machine Button Foot
  • How To Use The Sewing Machine Roller Foot
    How To Use The Sewing Machine Roller Foot
  • How to use the Sewing Machine Candlewicking Foot
    How to use the Sewing Machine Candlewicking Foot
  • How to Use a Sewing Machine Gathering Foot
    How to Use a Sewing Machine Gathering Foot
« How To Clean An Iron Quickly and Easily
Learn How to Sew Your Own Wardrobe »

Reader Interactions

Comments

  1. hollysbirdnest.com

    November 01, 2018 at 11:27 am

    Great tips for sewing!! I can use them!!

    Reply
  2. Crafty For Home

    November 12, 2018 at 11:54 am

    My machine did not come with this foot, only zipper foot, thing to get when I have piping project!

    Reply
  3. Karla

    March 08, 2022 at 9:52 pm

    What kind of sewing machine do you recommend.

    Reply

Leave a Reply Cancel reply

Your email address will not be published. Required fields are marked *

This site uses Akismet to reduce spam. Learn how your comment data is processed.

Primary Sidebar

Start Here Sewing Basics Serger Basics Resources Pattern Testers Online Workshops Pattern Making Basics Sew Your Own Wardrobe Alterations Mending & Repairing

Recent Posts

  • How to use Double-sided Fusible Tape
  • How to Join and Pattern Match Fabric
  • How to Sew a Christmas Stocking
  • Top 5 Mistakes To Avoid Before Cutting Fabric
  • A Quick and Easy Guide To Sewing a French Seam

Footer

  • Bloglovin
  • Facebook
  • Instagram
  • Pinterest
  • YouTube
  • About Me
  • Affiliate Program
  • Copyright, Disclaimer, and Disclosure

© 2023 Let's Learn to Sew· Log in