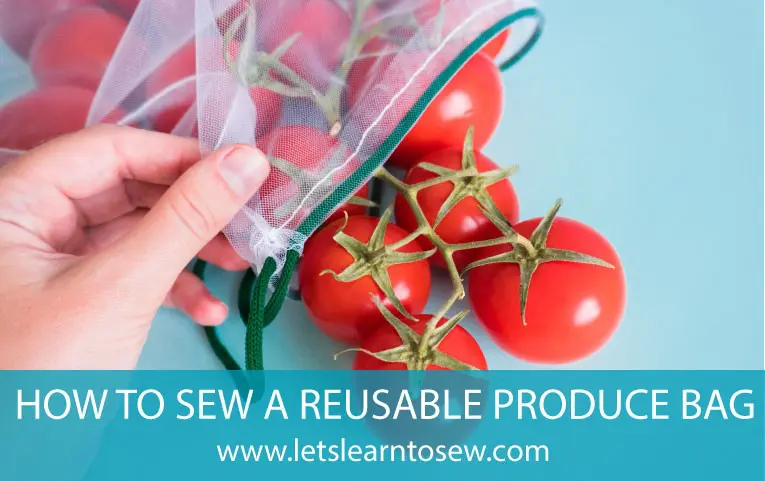
One of the things I like about sewing is being able to make things for my family and friends. When our kids were little, they would get at least one thing I had sewn every Christmas. As they’ve gotten older, it has gotten harder to figure out what to make them. This year, my daughter asked me to make her some reusable produce bags like the ones I use. How could I say no?! Seeing how awful plastic bags are for our environment, I knew I wanted to share how to sew a reusable produce bag with all of you.
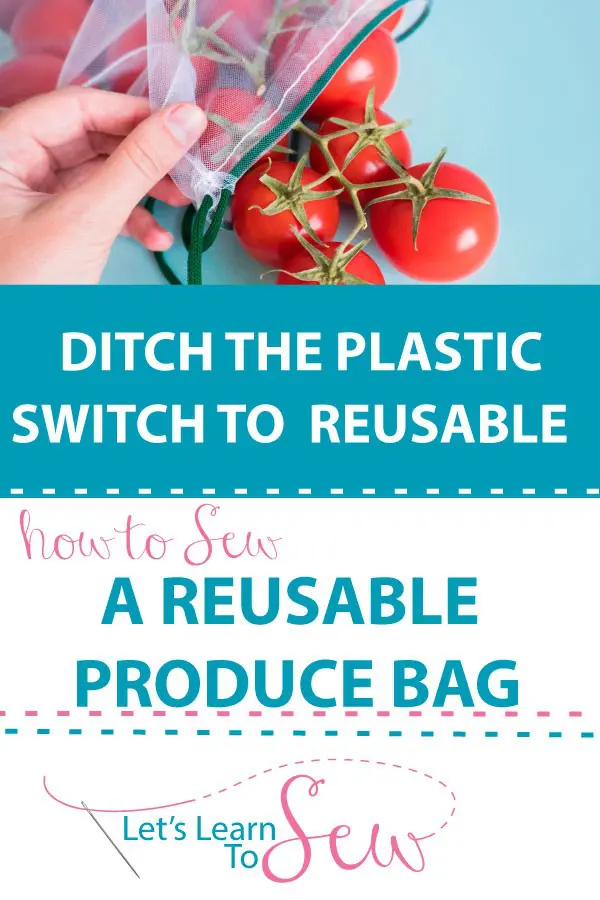
How to Sew a Reusable Produce Bag
The reusable produce bag is easy, aside from the fact that tulle can be fussy to get lined up.
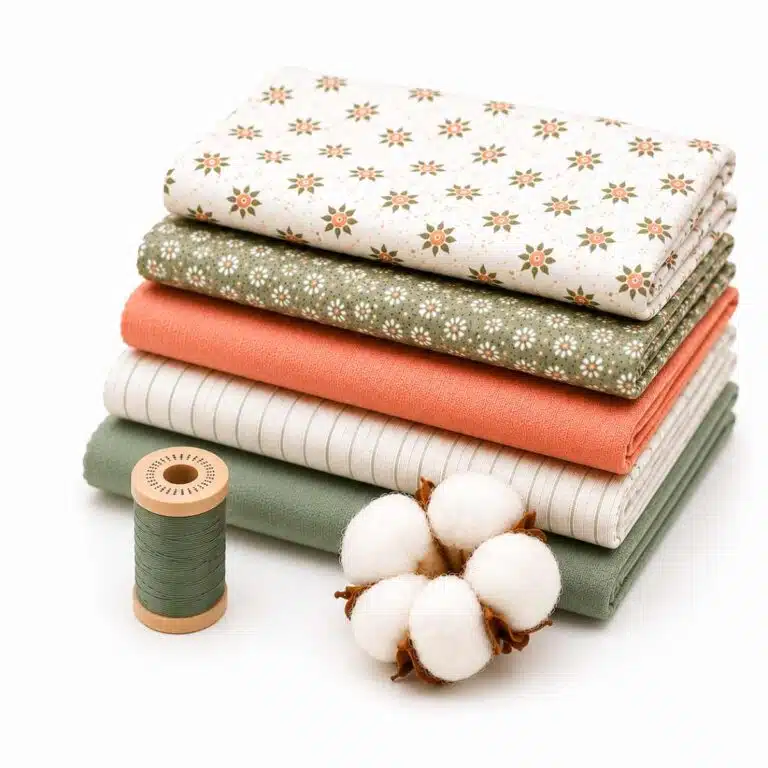
Supplies
- Tulle
- cording or ribbon
- sewing machine
- thread
- scissors
Instructions
- Cut your tool 1″ longer than you want the finished produce bag and 1″ wider than you want it.
- Fold one short end up to meet the other short end. Your bag should now be half as long.
- Pin or clip one side together, starting 2″ from the top.
- On the other side, pin the tulle together, starting at the top and working your way down.
- Sew the side together using a zig-zag stitch and 1/2″ seam allowance. Be sure to remove your pins or clips as you come to them.
- Fold the top edge over 1″ all the way around the top opening. Pin in place
- Sew the casing with a zig-zag stitch. I usually line up the left edge of my presser foot with the raw edge of the tulle. This gives me plenty of room in the casing to insert my cording.
- Cut the cording or ribbon long enough to go all the way around the opening of the bag plus 4-5″. Be sure to seal the ends of the cording or ribbon to avoid fraying.
- Insert the cording or ribbon into the opening and work it around until it comes out the other opening.
- Join the two end of the cord or ribbon and form a knot to prevent the tie from coming out of the bag
More Ways to Go Plastic Free
If you are looking for other ways to ditch plastic, check out this great article called From Plastic To Planet: How To Get Started Going Plastic-Free. The article contains actual steps we can all take to reduce the amount of plastics we use.


This is awesome! I love having my reusable grocery and produce bags but I haven’t tried to make any myself. This looks like something I could definitely do and we need a few more for all of the loose produce we tend to buy.
I love using my reusable bags! I try and take them with me everywhere I go just in case. I am absolutely terrible at sewing tho. I’ve asked my mom a thousands times to sew buttons back on my shirt. But after reading this post I think I’ll give sewing another try. For the environment! Thanks for sharing this post. I enjoyed it.
Such a great tutorial! I really would love to try this becuase the wastefulness is so big!
Great and simple how to… pinned for future reference!
Such a great tip and tutorial ! I’ll definitely try to make this, it’s a really nice way to save the planet
Really awesome, I found it interesting and helpful tutorial. Thanks for sharing.
This is such a great idea! I’ve really been trying to move towards more sustainable lifestyle. This goes a long way to help.
oh that is so cool! We usually buy new ones every time the bag gets old. Great post.
This was a really easy tutorial to follow! I had fun making these for my kids lunch boxes!
I love this idea! Every time I pack lunches and use plastic baggies I keep telling myself there must be a better, eco-friendly way. Can’t wait to make these!!!! Thank you! Thank you!
This is ideal, I love making things for home