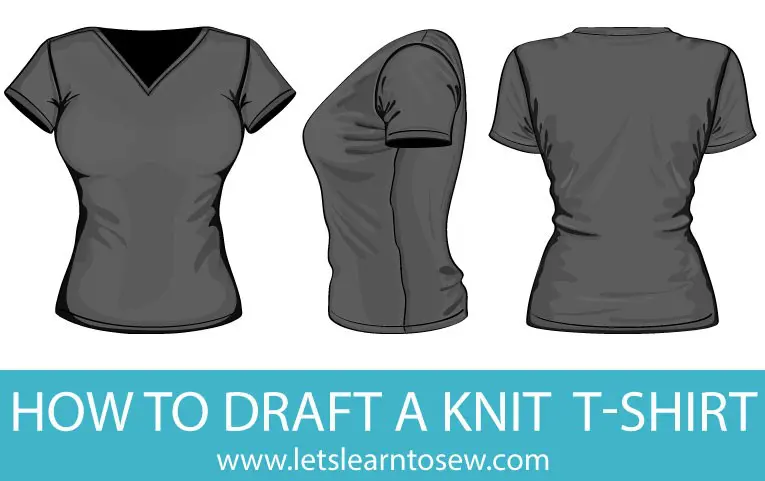
Sewing a knit shirt together is a bit different than sewing a woven fabric shirt together. I've found, like many others that sew knits, it's easier to put it together in sections. That may not make sense to you right now but as we begin sewing it you'll understand what I mean. In this post, I'll cover how to sew a knit shirt together with ease.
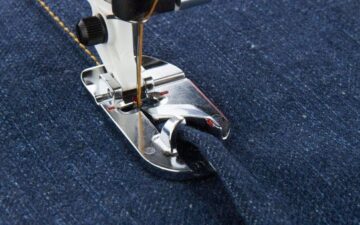
Remember that when sewing knits, you'll need to use either a stretch stitch or a tiny zig-zag.
Joining the Front and Back Sections
Some of these steps may seem out of order but I guarantee they make sewing knits easier, quicker and give you a well made final garment. Most of the steps are the same rather you're using a serger or traditional sewing machine.
Shoulder Seams
The first seams we're going to sew are the shoulder seams. I like to use clear seam tape to stabilize the shoulder seams in my knitwear. The elastic seam tape stretches as you put on or take off your garment then returns to its original size. Stabilize and sew your shoulder seams using one of the following methods. If you are not using the clear elastic follow the same steps, just skip inserting the seam tape.
Option1: Serge the seam tape to the garment
- Cut clear seam tape the length of the finished shoulder seam.
- Adjust the serger for a 4 thread overlock. Keep the blade engaged.
- Join and pin shoulder edges, right sides together, stitch several stitches.
- Raise the presser foot and place the elastic under the foot, along the seamline.
- Hold the seam tape at a slight tension. Do not pull it, but keep it slightly taut. Serge the tape to the shoulder seam.
Option 2: Stitch the seam tape to the garment
- Cut clear seam tape the length of the finished shoulder seam.
- Set the sewing machine for a stretch stitch.
- Join and pin shoulder edges, right sides together, stitch several stitches.
- Raise the presser foot and place the elastic under the foot, along the seamline.
- Hold the seam tape at a slight tension. Do not pull it, but keep it slightly taut. Stitch the tape to the shoulder seam.
In our next post, we'll get our neckband prepped and sewn on! Then we'll insert the sleeves and sew the side seams together. Our final step will be to hem our shirt.


Leave a Reply