When, Why, and How to Use a Muslin
When you’re experimenting with a new sewing pattern or you need to test one you've drafted you usually don't want anything extra to do. But trust me when I say that making a muslin is so worth the added time. Without it, your efforts are, at best, a gamble; with it, your sewing path is clear. Working out the fit and proportion issues at the experimental phase allow you to confidently proceed to sewing your fashion fabric. Let's go ahead and tackle when, why, and how to use a muslin one at a time.
What is a Muslin?
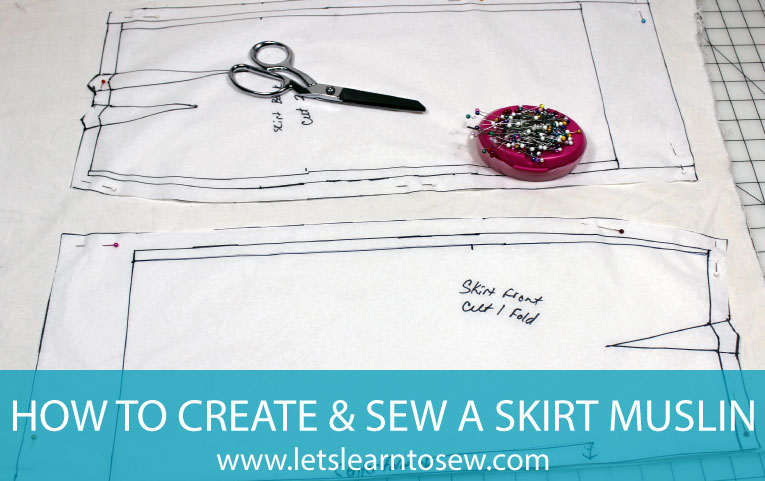
A muslin – is an initial mock-up of a garment usually made from cotton muslin. It allows you to check and alter how the pattern fits your body before cutting into your nice fabric.
Why Do You Need A Muslin?
Creating a muslin allows you to do more than a fit check. It lets you check the style and shape, adjust the ease and practice tricky techniques. It will also save you money because you won't waste your good fabric on something that doesn't fit well or needs adjustments that can no longer be made.
Blueprint has a great video on muslin test garments.
When Should You Make One?
There are some dressmaking projects that are easy to alter to fit you as you sew them. Those are the ones I wouldn’t bother making one for. For example, if the seam lines are only at the sides and shoulders it’s easy to alter the shape and size as you go along through pinning and basting before stitching for real.
The kinds of projects that I would make one for are those that are more closely fitted or that have darts and or seam lines across the bodice that you need to position in the right place. I also create one if I have any doubt about the way the style is going to look/fit on me.
How to Fit a Muslin
1. Try the Muslin On, Right Side Out
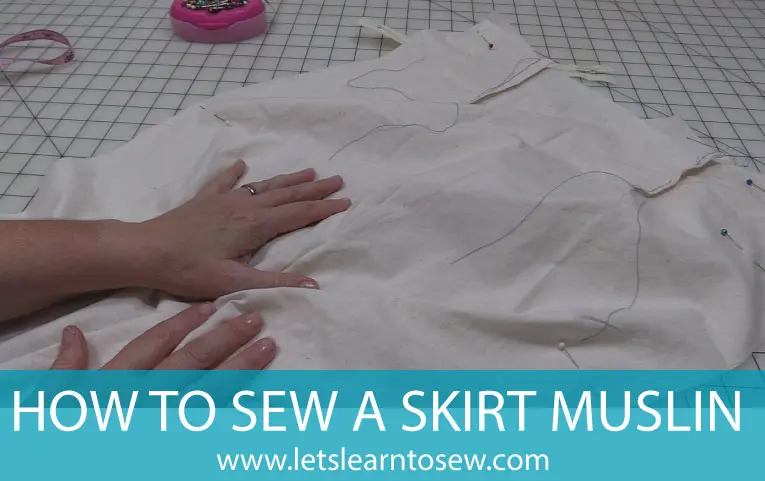
If you have a dress form in your measurements, you’ll probably find it easier to fit while it's on the dress form. Otherwise, you'll need to try it on yourself. If the garment has a zipper in the back you will probably need to get a bit of help from a friend. If no one’s available to pin you into the garment, it’s in your best interest to add some type of closures to get the best idea of how the garment actually fits. Be sure to baste them in and you’ll be able to easily rip them out and reuse for your final garment.
2. Try the Muslin On, Wrong Side Out
This is when you’ll pin and mark any adjustments for the final garment. Perhaps the side seams need to be taken in, or maybe you need to lengthen the bodice so the waist. Maybe the bust darts need to be let out or taken in. Adjust as needed until you're satisfied with the fit.
3. Take the Muslin Off and Deconstruct It
At this point, you can transfer any small changes directly to your pattern or make new pattern pieces based on the muslin if the changes are more dramatic.
The final pattern you create from your muslin will help you assemble a garment that looks professional, fits perfectly, and has the style you will be excited to show off!




Leave a Reply