• Bloglovin
  • Facebook
  • Instagram
  • Pinterest
  • YouTube
  • Skip to primary navigation
  • Skip to main content
  • Skip to primary sidebar
  • Skip to footer
Let's Learn To Sew
  • Home
  • Blog
  • Start Here
  • Sewing Basics
    • Sew Alongs
    • Pattern Making Basics
  • Online Workshops
    • Free Sewing Machine Boot Camp
    • Sewing 101
    • Sewing 101 For Kids
    • Serger 101
  • Sewing Patterns & Supplies
    • Resources
menu icon
go to homepage
search icon
Homepage link
  • Join Our Community
×

How to Sew A Skirt Muslin Together

June 30, 2019 by Margaret Leave a Comment

How to Sew A Skirt Muslin Together

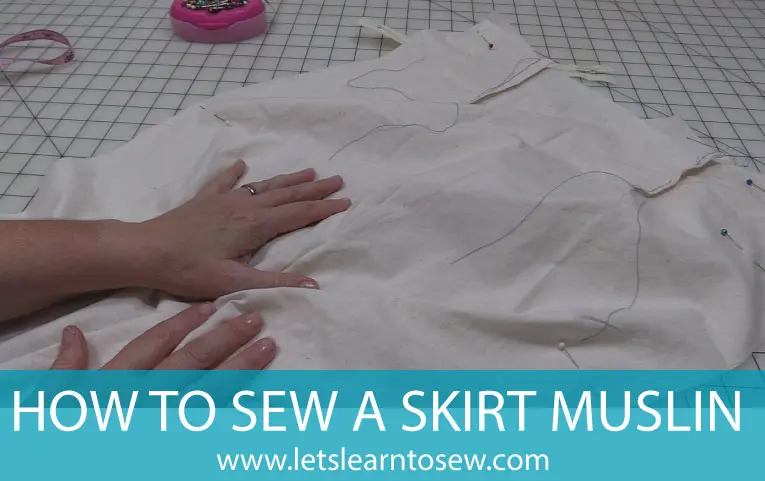
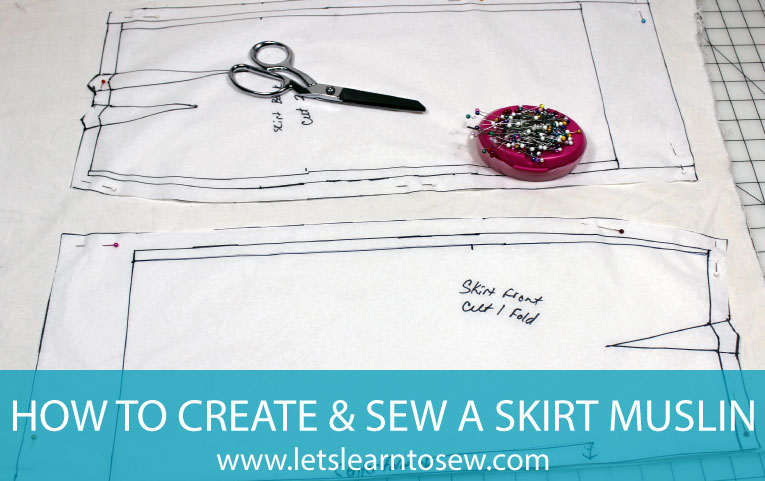
After sewing the darts on your skirt sections it's time to sew the skirt together. This will allow us to slip the skirt on and check for the perfect fit. 


Sewing the Front and Back

Start by sewing the back together on a ⅝″ seam allowance or the amount that you added to your pattern. Be sure to stop about 8″ from the top, This will allow you to put the skirt on and mimic the room we left for the zipper. Next, place the front and back sections right sides together and sew down the side seams. Again, making sure to backstitch at the start and end of the seams.

How to Fit a Muslin

1. Try the Muslin On, Right Side Out

If you have a dress form in your measurements, you may find it easier to fit while it’s on the dress form. Otherwise, you’ll need to try it on yourself. Since the skirt has a zipper in the back you will probably need to get a bit of help from a friend. If no one’s available to pin you into the skirt it’s in your best interest to add some type of closures to get the best idea of how the garment actually fits. Be sure to baste them in and you’ll be able to easily rip them out and reuse for your final garment.

2. Try the Muslin On, Wrong Side Out

This is when you’ll pin and mark any adjustments for the final garment. Perhaps the side seams need to be taken in, or maybe you need to lengthen it.  The darts may need to be let out or taken in. Adjust as needed until you’re satisfied with the fit.

3. Take the Muslin Off and Deconstruct It

At this point, you can transfer any small changes directly to your pattern or make new pattern pieces based on the muslin if the changes are more dramatic.

Once you’ve made all the needed changes go ahead and use the altered pattern to cut out your skirt on your fabric.

If you have any questions let me know in the comments section or let me know in the private Facebook group.

Related Posts:

  • How to Create and Sew a Test Muslin for a Skirt
    How to Create and Sew a Test Muslin for a Skirt
  • How to Sew a Knit Shirt Together
    How to Sew a Knit Shirt Together
  • When, Why, and How to Use a Muslin When Sewing a Garment
    When, Why, and How to Use a Muslin When Sewing a Garment
  • How to Make a Skirt Pattern: Draft a Skirt Sloper or Block
    How to Make a Skirt Pattern: Draft a Skirt Sloper or Block
« How to Sew a Dart Quickly and Easily
How to Alter a Skirt Pattern for a Perfect Fit »

Reader Interactions

Leave a Reply Cancel reply

Your email address will not be published. Required fields are marked *

This site uses Akismet to reduce spam. Learn how your comment data is processed.

Primary Sidebar

Start Here Sewing Basics Serger Basics Resources Pattern Testers Online Workshops Pattern Making Basics Sew Your Own Wardrobe Alterations Mending & Repairing

Recent Posts

  • Online Sewing Course for Kids
  • How to use Double-sided Fusible Tape
  • How to Join and Pattern Match Fabric
  • How to Sew a Christmas Stocking
  • Top 5 Mistakes To Avoid Before Cutting Fabric

Footer

  • Bloglovin
  • Facebook
  • Instagram
  • Pinterest
  • YouTube
  • About Me
  • Affiliate Program
  • Copyright, Disclaimer, and Disclosure

© 2023 Let's Learn to Sew· Log in