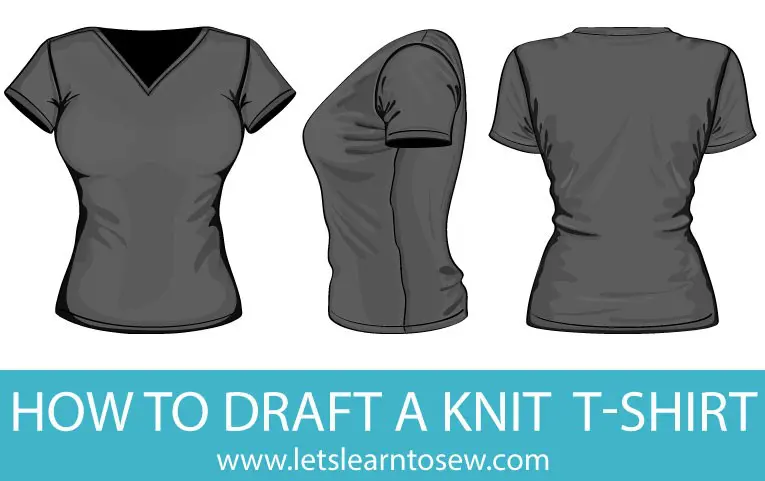
We've made it to the last step in drafting a t-shirt from measurements. If you've not read the other post you can find them all linked here
Drafting a Neckband
Neckbands can have several variations but we'll start with a basic neckband that just finishes off the edge of the bodice neckline. Depending on how you drafted the neckline this should be close to the collar bone area.
1. Determine the Measurement
Just like when we drafted the neckband for the t-shirt we copied we need to measure the entire neck circumference.
On the front and back pieces, using your tape measure, measure the circumference of your neck opening. Be sure to measure both pieces on the seamline not the seam allowance line. Add the front to the back and double the number to get the total circumference.
Next, because the neckband needs to be slightly smaller than the neck seam to lie flat, subtract 10% of that total. That final number is your neckband length.
2. Draft the Neckband Pattern
That we have our measurement we can begin drafting out the neckband which is just a simple rectangle.
Begin by drawing a line on your paper that is 1" longer than your neckband length measurement. That will give you ½" of seam allowance on each end.
The finished band is going to be ½" wide so we want our width to be 1" plus ¼" on each side for the seam allowance. That makes the total width of the neckband 1 ½" wide. The easiest way to keep it straight is to measure up 1 ½ " in several spots along the length and then join the lines. Don't forget to close off the ends too.
Fold it in half so that the short ends meet, Draw a line on the fold; this is your grain line.
3. True the Neckband Pattern
The neckband shouldn't really need trued but you should always be in the habit of checking your pieces.
4. Label the Neckband
As with any pattern piece you draft be sure to label it with what the piece is and I like to include the measurement on things line neckbands and waistbands.
5. Cut out the Neckband
Cut out the pattern piece and place it with the others you've made for your t-shirt. I like to use binder clips to keep my pattern pieces together. They are cheap and easy. I can also hang the binder clip from S hooks if I want.
Next up we will talk about how to prevent stretching and distortion while sewing knit fabrics and then I'll walk you through sewing up the t-shirt!


Leave a Reply