In the last post, we began drafting a t-shirt from our measurements but we stopped short of drafting the sleeves. In this post, I'll show you how to draft sleeves for a knit shirt. I wanted to do a separate article/post because there are a lot of options for sleeves and a few variations I wanted to cover.
Make the Sleeve
When I draft I like to make several options at once. We'll begin with a long sleeve and then I'll show you how to copy and alter that pattern piece into several other options.
1. Prepare a piece of paper
Start with paper that is 4" longer than your sleeve length measurement and 4" wider than your full bicep circumference. Fold the paper in half lengthwise, and keep it folded with the folded edge on your left. Just like when we copied our favorite t-shirt to draft pattern pieces we'll be drafting on the fold. Then when we unfold the paper we'll have a whole sleeve.
2. Plot the length and Wrist
Along the fold, make a mark about 2" down from the top of your paper. From this point, measure down the length of your sleeve, and make another mark. From here, hold your ruler perpendicular to the fold and draw a line that measures your half wrist circumference.
3. Make the Cap
The sleeve cap is the curve at the top of your sleeve. It's shaped like a bell. Before you can draft the cap, you'll need to determine the cap height. I use the formula I was taught of two-thirds (.67) times the armhole height. So if you used an armhole height of 7", your cap height would be 4 ¾" (rounded to the ¼"). Measure down 4 ¾" (or the number you got) from the top mark on your paper. From this point, draw a line, perpendicular to the fold, that measures your half bicep circumference. connect this bicep point with your wrist point; this is the underarm seam line.
Now we can start drafting the bell shape. Start by establishing a 90-degree angle from the fold at the point of your sleeve; just draw a line that's about ½" long. Then hold the ruler perpendicular to the underarm seam line, and draw another ½" line toward the fold. Now Connect these two short lines by curving upward from the lower one, meeting in a very smooth S-curve. Make sure that where the two opposing curves meet, that the transition is seamless. It should almost be a straight line for an inch or two.
4. Check the Sleeve Cap
The seamline you just created for the sleeve cap will be sewn to the armhole of your shirt so we must make sure the two lines fit together. You need to measure the exact length of your sleeve cap seam line and on your front shirt pattern measure the length along your armhole curve. If they are equal or if the sleeve cap seam is up to ½" bigger than the armhole, you're fine. If the sleeve cap is smaller you'll need to adjust it until they are at least equal.
5. Square the Wrist Corners
Down at the wrist point, extend the underarm seam line by about 1". Then hold your ruler perpendicular to it. Slide the ruler up and down until it intersects the wrist line about one-third of the way over from the underarm seam to the fold. Draw a line from the extended underarm seam line to the wrist line.
6. Smooth the Wrist Line
Using your curve tool, blend the angle you just made in the wrist line so that it is a nice smooth curve. Be careful you don't alter either of the two right angles at each end of the wrist.
7. Add Seam Allowance
Add ½" or ⅝" (your preference) to the cap curve and the underarm seam, Add 1" (or your preference) to the wrist. When adding the seam allowance to the wrist keep in mind how you plan to hem the wrist.
8. Cut it Out
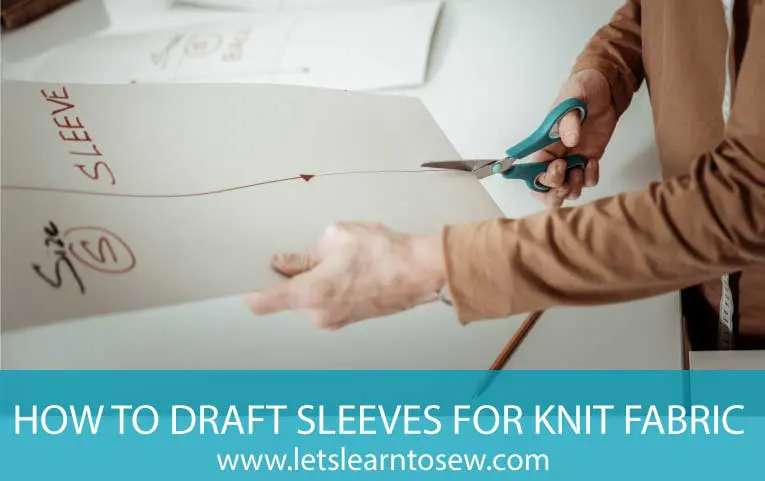
With the paper still folded, cut out the sleeve. Be careful not to let it slip around while cutting. You may find a piece of tape at each end if helpful.
How to Shorten the Sleeve and Add Fullness
Now that you have your basic sleeve we can make several variations. Let's start with a short sleeve.
1. Trace the Sleeve Cap
Begin by tracing the sleeve cap from above. Measure down about 7" from the top of the sleeve cap ( longer or shorter depending on how long you want your short sleeve). Just make sure it's at least 1 ½" longer than the sleeve cap. Draw a line across, perpendicular to the centerline of the sleeve.
2. Add the Seam Allowance for the Hem
Since the seam allowance has already been added to the template you used you only need to add the additional amount for the hem. If you plan to sew it with a double fold to hide raw edges make sure you allow for that.
3. Label and True Your Pattern Pieces
Just like everything else we've drafted you'll need to label and true the pattern pieces. Most of it should be trued since your sleeve template was.
Short-Sleeve Variation
One quick and easy variation is to add an elastic casing to the short sleeve.
1. Trace the Sleeve Cap
Begin by tracing the sleeve cap from above. Measure down about 7" from the top of the sleeve cap ( longer or shorter depending on how long you want your short sleeve). Just make sure it's at least 1 ½" longer than the sleeve cap. Draw a line across, perpendicular to the centerline of the sleeve.
2. Add the Casing
Now we need to extend the line we drew for the elastic casing. The casing will be ½" wide so we need to add a ½" to the bottom of the pattern.
3. Add Fullness
Next, draw a verticle line down the center of your sleeve, from the top of the cap to the bottom edge. Starting at the bottom edge, cut along this line, stopping ¼" from the top so that the pieces are still connected. Spread the bottom apart by 2" and tape a piece of paper behind it to fill the gap. Smooth out the bottom edge into a slight curve. Lastly, add ½" seam allowance to the bottom edge of your sleeve.
Now we've covered the Front and Back and the sleeve. That only leaves the neckline. Again, because of variations, I'll post a separate post for the neckline.





Tara
this is so interesting! I know absolutely nothing about crafting a garment but I find it so fascinating!
Candace L Blanton
I am pretty jazzed by this post as I have a lot of patterns I need to add sleeves too. However, pics would reeeally help. I can tell they are really clearly written, but I am just not so sure where the mark this or mark that should be. I always hate to comment on something of this sort because I don't want to seem critical. However, I really want to understand what you are saying. Thanks for this post. I will keep trying.
Margaret
I understand! I usually try to do illustrations/pictures or a video, but for some reason didn't get a chance to go back and do them for this article. I'll work on getting them added.