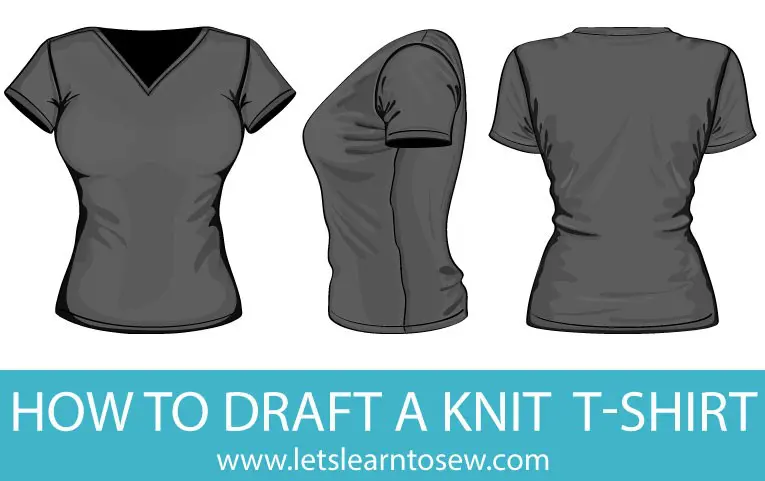
In our last post, I showed you how to draft a t-shirt from an already sewn shirt. In this post, we're going to be creating the pattern pieces from body measurements. T-shirts are what fill over half of my closet. Some are dresser than others but most are just scoop-necked t-shirts in a variety of colors and patterns. Right now I'm in nursing school so I have no set wardrobe outside of school. however, even when I worked as a manager for Viking Sewing I wore dressier t-shirts with dress pants or skirts. Needless to say, I've been excited about showing you all how to draft a knit t-shirt.
The Basic T-Shirt
A basic T-shirt pattern (that fits exactly as you like) will be a key component of your pattern library. You can use it to make yourself long- and -short-sleeved tops, tanks, sweatshirts, tunics, dresses and so much more! First, let's cover the basic t-shirt. We're going to be making this one to fit semi-close to the body, and you can then test it out in a variety of different knits. You will probably find that you have to slightly adjust it for different types of knits. That's because different knits stretch differently. Don't worry, we'll cover that later this week.
Body Measurements to Record
1. Half Neck 4.5” + 1” divided by 2 = _________
2. Half shoulder + 1" divided by 2 = _________ Your shoulder points are easily located as the points that depress or crease when you lift your arms straight out.
3. Quarter bust + 1” divided by 4 = _________
4. Quarter Waist + 1" (smallest part of your waist) divided by 4 = ________
5. Quarter hip + 1” divided by 4 = ________ Take this measurement at the point you want your shirt to hit. This is can be the high hip (hip bones) or low hip (the fullest part of your butt)
6. HSP to the upper chest (around your armpits): HSP to the upper chest (tape measurer should go right under your armpits) ________
7. HSP to True Waist ________
8. HSP to hip (or where you want the shirt to hit) _______
9. Bicep half + 1" divided by 2 = _______
10. Sleeve length ________ From shoulder point to where you want the sleeve to hit, OR for a long sleeve, from the shoulder point to wrist
11. Underarm seam length ________ Measure from underarm to where you want your sleeve to hit, and MINUS 1” from that measurement.
Drafting the Front of the Shirt
The directions are going to seem long but I'm going to do my best to make them easy to understand regardless of how much pattern making experience you may have. The back section will go much faster!
1. Prepare Your Paper
Begin with a piece of paper about 4" longer than the length of your shirt, and at least 2" wider than your quarter-bust or hip. Whichever is bigger. Make sure that at least one of the long sides of the paper is perfectly straight and smooth. If not, draw one with your ruler close to the edge and then cut on the line to create a straight edge. All of the drafting will be done from that edge so it's important that it is straight. Orient your paper so that this edge is on the left side. This edge will become the center front (CF) on your shirt.
2. Plot the Length
Along your straight left-side edge (CF), make a small cross mark about 2" down from the top edge of the paper. From this point, measure down the length of your shirt (high shoulder point to hem) and make another mark there. Go ahead and label center front.
3. Plot the Shoulder
At the top mark, align your clear ruler so that it intersects CF at a 90-degree angle. Draw a horizontal line here that measures your half-shoulder. This is your shoulder line. Make sure the endpoint of the line is clear; make a cross-mark or dot to define it.
4. Plot the Hip
Draw another horizontal line at the mark you made at the bottom of the paper, using your quarter hip measurement. This will be your hip line, which will be the bottom edge of the shirt.
5. Plot the Waist
From the shoulder line, along CF, measure down the distance from your high shoulder point to your waist. Make a mark and from this point draft a line perpendicular to CF, which measures your quarter waist.
6. Plot the Bust Line
To determine the proper bustline placement for the bust you need to decide the size of the armhole. If you've never drafted this area before you may find it helpful to look at a shirt that fits you the way you like. A standard armhole measurement for a medium-sized t-shirt is about 7"-7 ½". If your best fitting shirts tend to be between 6 ½"-7" go with 6 ¾". Or if you know you usually feel like your shirts are pinching in the area, make it a bit bigger. Measure down that amount from the shoulder line, and make a mark. From this point, you can plot out your quarter-bust measurement.
7. Plot the Neck Points
On the shoulder line, measuring from CF, mark your half-neck width. On CF, measuring down from the shoulder line, mark your front neck drop.
8. Add Shoulder Slope
Everyone's shoulders have a slight angle to them. To accommodate this we'll give our pattern a slight shoulder slope. At the point where you marked your neck width, measure up ¼" and make a mark. Connect this point to your shoulder point. This is now your new shoulder seam line and replaces the old horizontal one you made. Go ahead and erase that old one so you don't get mixed up.
9. Connect the Dots
Now we'll do sort of a dot-to-dot. For now, we're going to ignore the armhole and neckline. Draw a line from the bust/underarm point to the waist point and from there to the high hip point.
10. Plot the Armhole
Now we're moving into the curves. To begin the armhole, we'll establish two 90-degree angles. Hold your ruler perpendicular to the shoulder seam line, at the outer end or shoulder point. Draw a line about 2" downward from that point. Now hold the ruler perpendicular to the side seam line, and draw a line about ½" long toward the CF. These two lines are the foundation of your armhole. The curve you draw must start and end at these lines so that the corners will be 90-degree angles. Using the roundest part of your french curve, find a spot where it meets up with both lines, so they are connected into a smooth, continuous curved line.
11. Plot the Neckline
At the high shoulder point, hold your ruler perpendicular to the shoulder line, and draw a ½" line. Draw another line at your front neck drop point, from CF. Now using either your hip curve or french curve connect the two ½" lines.
12. Square the corners
Just like with our skirt, we need to make any remaining un-squared corner into right angles. The only one should really be at the bottom where the side seam meets the hem.
13. Smooth the Points
Now let's smooth out those funky angles and them into curves. There's one at the waist point and one in the neckline. Take your curve tool, and lay it alongside one of those angles. Slide the curve tool around until you find a section that fits nicely into the angle. The edge should be touching your line at points a few inches to each side of the angle. Following the curve, draw a line between the two points. Earase your old lines and repeat for the other angle.
14. Add Seam Allowance
Grab your ruler, seam gauge or seam allowance ruler and add your ½" or ⅝' seam allowance. The video above will show you how I do it. I like to add a full inch seam allowance at the bottom hip line, so I can do a fold under hem. Think about how you plan to finish your hem and add in the hem seam allowance accordingly.
15. Cut it out
To save a bit of time take another piece of paper the size of your first one and place it behind this one. Either pin, tape or staple the paper together. This second sheet will become your back pattern piece. Now, go ahead and cut through both layers, starting at the bottom. When you reach the top, cut the shoulder line, then cut straight across to CF, leaving the neckline uncut. Sperate the two pieces and continue to cut the neckline on the front piece.
Drafting the Back of the Shirt
1. Marking some Reference Points
Begin by laying the front pattern piece back on top of the back piece and line up the pattern pieces. Trace the shoulder seam line and the front neckline onto the back pattern. The straight edge on the left of the back piece is now Center Back (CB). Be sure to label it. Now you can draw the back neckline using the front neckline as a reference point. Back necklines are usually pretty small on t-shirts. Usually, ½" to 1" but that's up to you. Draw something that looks right to you, making sure it hits CB at a 90-degree angle, of course, and that it meets the shoulder seam at the exact same spot as the front neckline.
2. Add Seam Allowance and Cut
Add ¼" seam allowance to the new back neckline. Now all you need to do is cut it out! I told you the back would be much faster.
The Sleeve
I'm going to stop here for this post. I want to show you several options for the sleeve and I think it would be best done in a separate post.
Questions? Let me know in the comments section. For those that prefer the videos don't worry I'll be back in the morning to insert it.


Anna-Grace
I'm confused about how to measure the neck and am not finding clarifying information on this site or Google. Can you help? What does "Half Neck 4.5”" mean? Thank you.