
Why You Need to Add Seam Allowance to Pattern Slopers
Seam allowance is added to accommodate for the joining of different parts of a garment. A seam allowance needs to be added all the way around a pattern piece, except the area placed on a fold. The section placed on a fold is left alone. When we drafted our skirt sloper we did not add in the seam allowances. We’re going to do that now! Let me show you just how easy it is to add seam allowance and ease.
When working with a commercial pattern the seam allowance is usually included and will be stated in the instructions and sometimes printed on the pattern pieces.
How Much Seam Allowance to Add
I usually use a 5/8″ seam allowance, mainly because it’s what regular patterns use. I think it’s less confusing for those that are just starting out on their sewing and pattern drafting journey. My goal for Let’s Learn To Sew is to make things simple and easy to follow. Since I use a serger 99% of the time so added bulk isn’t an issue. If I know I’m not going to be using my serger I do drop down to 1/2″ seam allowance. If you have a different preference use what pleases you.
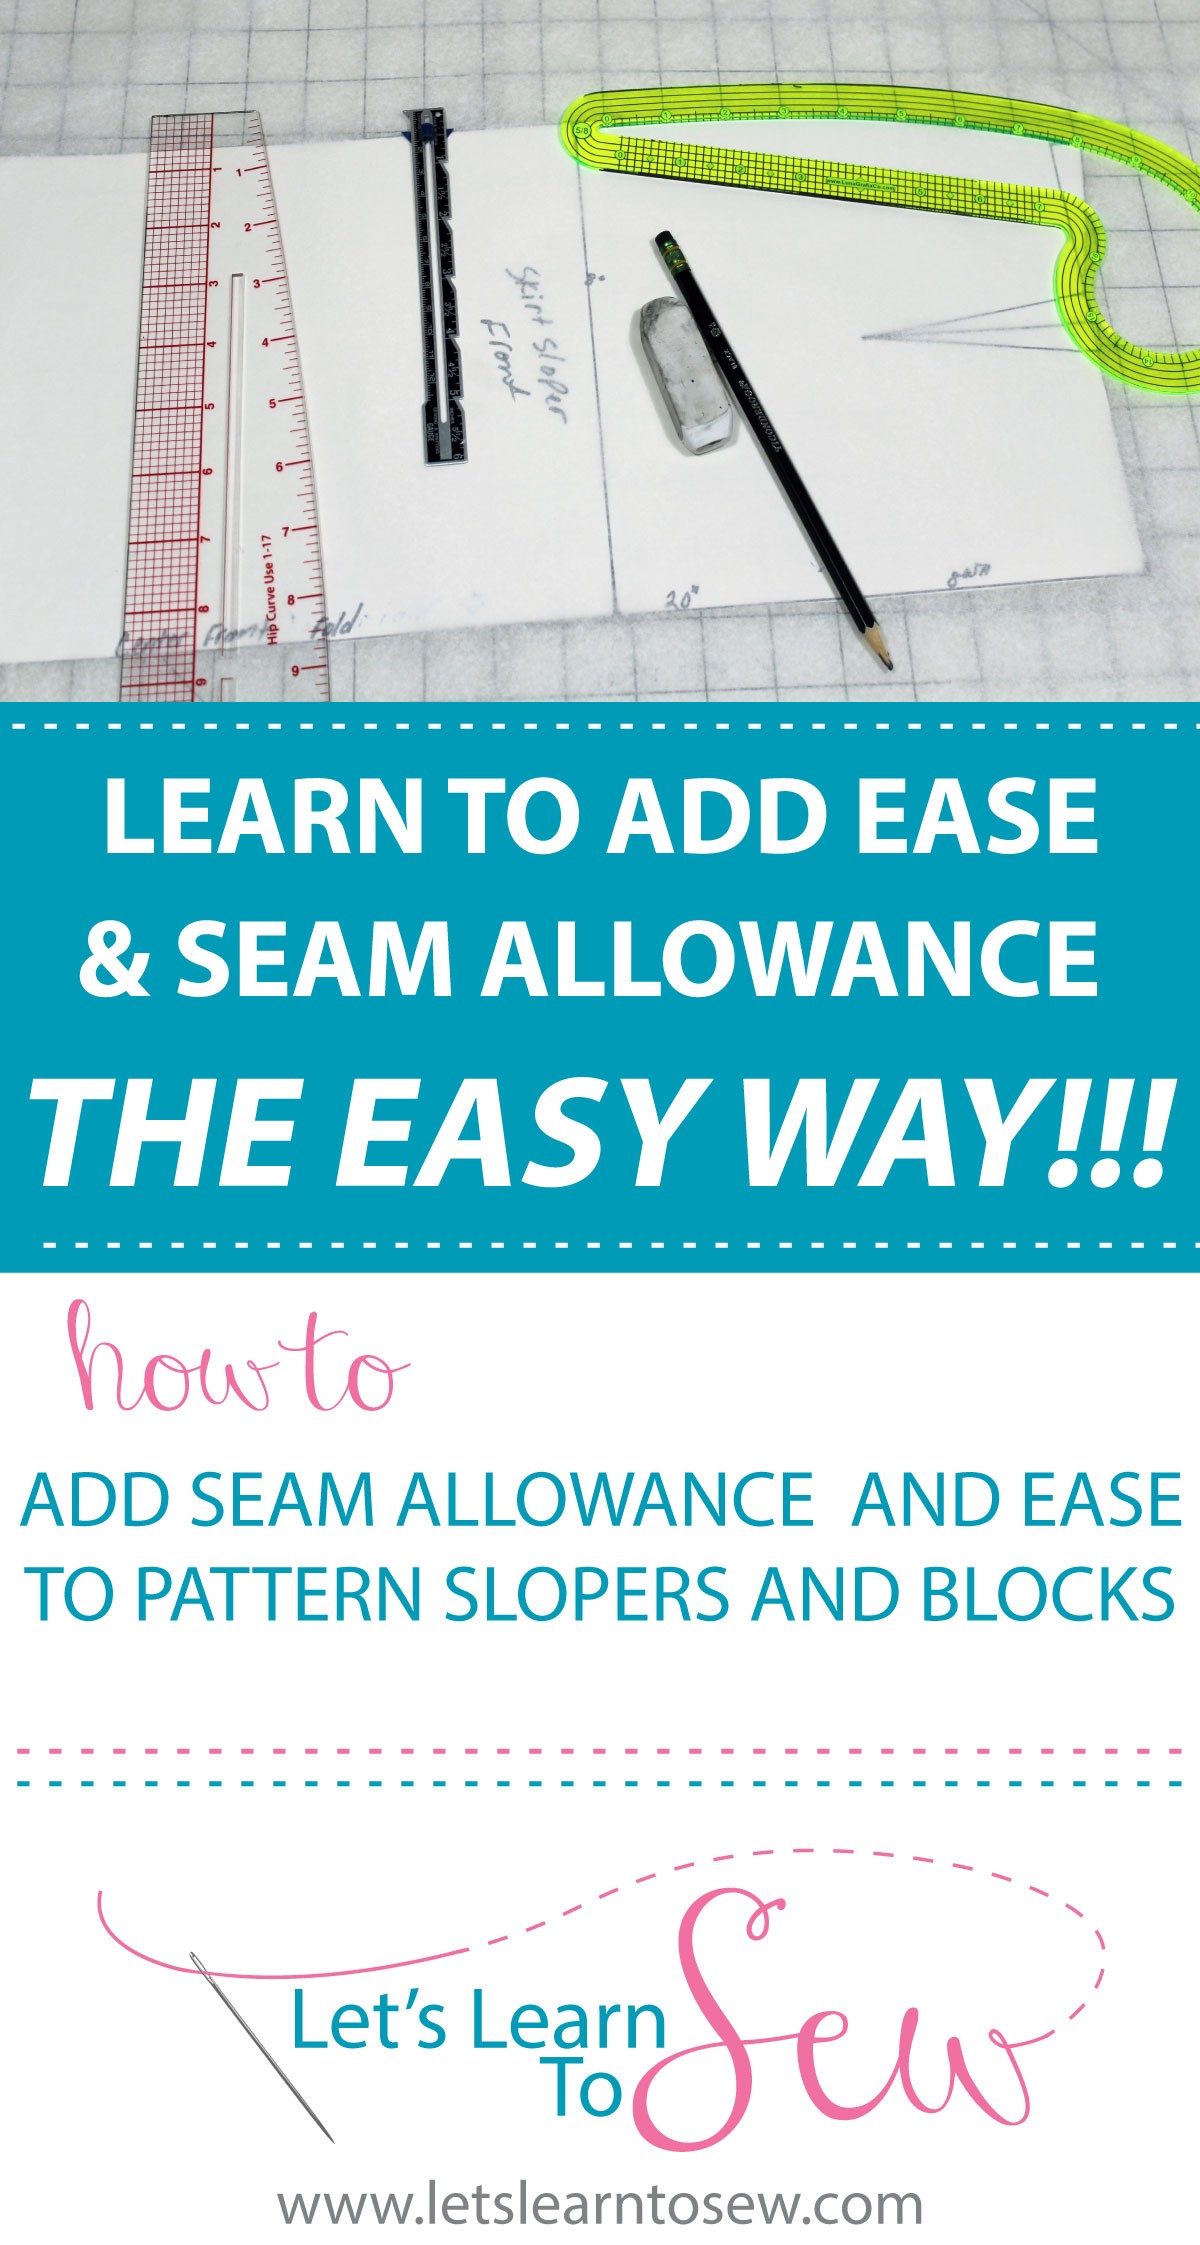
Tools to Help Make Adding a Seam Allowance Easy
There are several tools to make marking your seam lines easier.
1) Pattern master The original all in one pattern design tool. This Pattern Maker combines the functions of a graders square with the essential curves required for necklines, sleeve and trouser crotches. A useful tool for designing textile patterns Especially good for sleeves All in one pattern design tool Ideal for professional pattern making, at home or at school.
2) Adjustable double tracing wheel
Use the double tracing wheel to draw two parallel lines at the same time. Convenient for tracing both cutting and sewing lines at the same time. The spacing when closest together is almost exactly 5/8″ making it ideal for seam allowances. I found out about this tool when taking a Kenneth King class and it truly is great!
3) Notcher
A pattern notcher is a tool which creates 1/4″ deep square cuts in the edge of patterns. Save time with this simple tool to ensure accurate marking of your pattern key points such as dart legs, arm hole notches, and more!
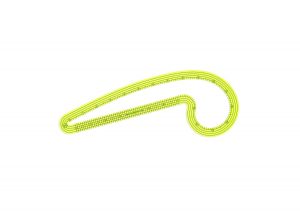
4) Luna Grafix 5/8th inch .625 French Curve Ruler.
I’ve found the easiest way to add in my seam allowance is with the I can lay it against my pattern and trace against the edge of the ruler, its width is exactly 5/8″! I’ve been using this ruler for about a year now and it has saved me so much time!
How to Add Seam Allowance and Ease
- Mark out 1/8” at waist (this gives you 1/2” total ease at the waist)
- Mark 3/8” at hip line and down the side seam (this will give you 1.5” total ease) Do not add ease to CF side.
- Grade lines from waist to hip re-draw side seam
- For front sloper add 5/8” SA to side seam and waist. Do not add seam allowance to CF side.
- Add 2” SA to hem
- For center back add 5/8” SA to side seam, center back and waist
- Add 2” SA to hem

I’m confused by how much ease was added in. The goal was one and a half inches. But by adding 3/8” to the back seam as well as the two side seams, isn’t that adding 2 1/4 inches of ease? I expected you to say divide the desired ease by 6 (as in 6 edges) and add the result to the sloper. You divided by 4. Or should the back seam not have any ease added to it?
Anything on the fold does not get a seam allowance.
I’m not 100% on the topic if adding ease to a sloper. In my example, I have a bodice front, bodice back, and sleeve. The sloper fits exactly to my body, so I know I should add 1/2″ ease for tops and 1″ ease for coats. My question is: “Which seams do I add ease to?”. Or: “For my sloper do I add 1/2″ ease to all seams, but to use it for a coat add an additional 1″ to all seams then add seam allowance?”. I think the armhole will distort with that formula. It’s technical, and this website isn’t specific.