Have you ever found yourself in the middle of a project that required a zipper but when you dug in your stash you couldn’t find the right zipper length? Factories and designers order their zippers in bulk at specific lengths for the garments they create, the home sewist doesn’t have that luxury. However, you don’t have to interrupt your creative flow and race out to the nearest sewing or craft store or wait for Amazon to deliver one. Today I’m going to show you how to shorten the length of any zipper for the perfect fit.

Shorten Any Type of Zipper
By the end of our easy tutorial, you’ll know how to shorten the length of the most common zipper types: a regular zipper with plastic teeth, an invisible zipper with plastic teeth, and a metal zipper with metal teeth.
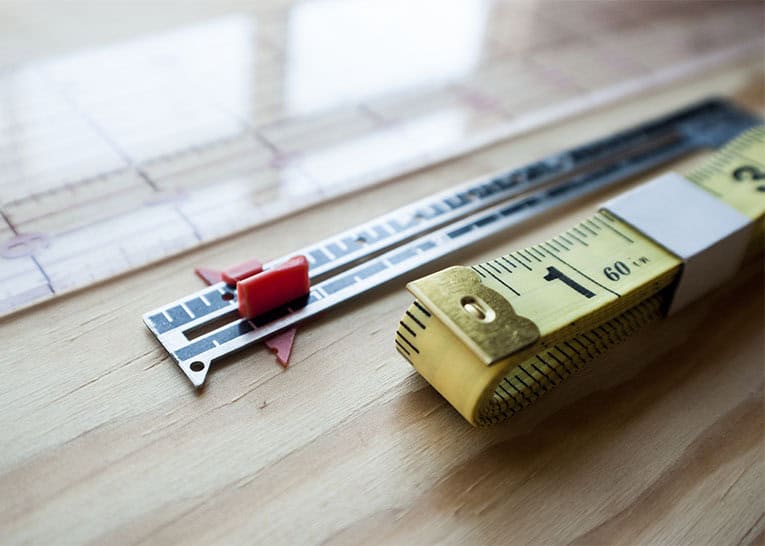
How to Measure the Length of a Zipper
When measuring the length of a zipper you want to measure from the top zipper stop to the bottom zipper stop, not the length of the zipper tape itself.
Regular Zipper with Plastic Teeth
For a regular zipper with plastic teeth, you’ll be removing the extra length from the bottom of the zipper tape, then create a new bottom stopper by sewing it either by hand or on the sewing machine. I prefer to use my machine.
1. Measure
Measure down from the top down to the desired length. This is where you will be placing the new zipper stop.
2. Mark
Mark the zipper tape where you will be placing the new bottom stopper.
3. Remove Teeth
Remove all of the teeth about 1 inch above the mark. For the plastic teeth, you can use nippers to horizontally cut off the “head” of the zipper tooth. I’d suggest using craft scissors, not your good fabric scissors.
4. Sew
Use your sewing machine to make a line of straight stitches across the tape, starting a few stitches before the teeth and extending a few stitches on the other side of the teeth. Go back and forth using your backstitch a couple of times to form a strong stopper.
To sew this by hand, simply stitch over the zipper teeth using a bar tack; this means inserting and exiting the needle just on either side of the teeth. Go back and forth several times.
Don’t worry too much about how your stopper looks as it won’t be visible in the finished project.
5. Trim
Use scissors to trim off the excess zipper tape about 1″ under your newly sewn stopper.
You’re done, and now you can sew your zipper into your project!
Invisible Zipper with Plastic Teeth
An invisible zipper is designed to have the zipper pull sit on the top stop when the zipper is fully closed. The top stops are molded into the zipper and cannot be replaced, so these closures must be shortened from the bottom.
1. Measure
Measure down from the top to where you want the new stopper to be.
2. Mark
From the teeth top, mark it 2 inches longer than the zipper opening it must fit. Mark straight across the zipper tape and teeth. Note: For an invisible zipper, the teeth are on the backside of the tape.
3. Cut off the Excess
Cut off the excess (I use paper/crafting scissors).
4. Secure the Bottom Teeth
Now you need to secure the bottom teeth, and there are several ways to do so:
- Melt the teeth with a lighter or hot knife
- Wrap the bottom edge with a scrap of the lining.
- Bar-tack across the bottom using a wide zigzag stitch or by hand sewing.
Metal Zipper with Metal Teeth
You’ll want to remove the excess length on a metal zipper from the top, instead of off the bottom.
1. Measure and Mark
Measure down to where you want the slider to stop. What you are marking here is where the pull will stop at the top of the zipper.
2. Pull Some Teeth
Metal zipper teeth need to be pulled since the can’t be cut. Use pliers or metal snippers to pull the teeth off. Carefully pull the teeth off the zipper tape until you have about 1″ of tape teeth-free.
3. Reattach
You will want to reuse the metal stopper at the top, so remove that as well and reattach it at the new top of the teeth. Be careful not to accidentally pull the zipper up before you replace the stopper at the top.
4. Trim
Carefully cut the zipper tape about 1″ above the new top of the pull. Do not let your scissors come in contact with the metal teeth!
Start Inserting Zippers
There you have it, now you know how to shorten the length of any zipper for the perfect fitting zipper!