Sewing around corners can be difficult and time-consuming, especially if you’re new to sewing or have never been taught the proper way to sew around corners with a sewing machine. This video breaks down the step-by-step process of how to sew around corners.

How to Sew Around Corners: A Step-by-Step Guide
Sewing around corners is a fundamental skill in sewing, whether you’re crafting clothing, home décor, or quilting. Mastering this technique will give your projects a crisp, professional finish, especially when working with seams, hems, or appliqué. In this guide, we’ll walk through the tools you’ll need, the step-by-step process for both inner and outer corners, and some helpful tips to make your corners sharp and clean.
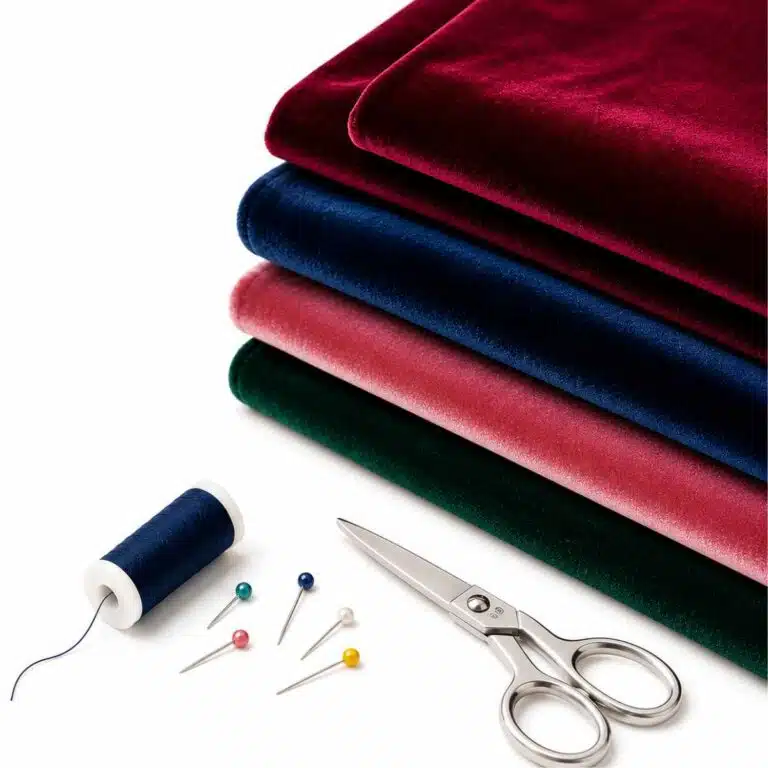
Tools & Materials You’ll Need
Before you begin, gather the following supplies:
- Sewing machine
- Thread
- Fabric
- Pins or fabric clips
- Fabric marking tool or chalk
- Ruler or measuring tape
- Iron (optional but recommended)
- Scissors or rotary cutter
- Seam ripper (just in case!)
Understanding Corner Types
There are two types of corners you’ll typically encounter:
- Outer Corners – like the corners of a napkin or a pillow.
- Inner Corners – like the inside angles on a neckline or apron.
Each type requires a slightly different technique.
How to Sew Outer Corners (90-degree angles)
Step 1: Mark the Corner
Using a fabric marking tool, mark where the corner will turn. For a 90-degree angle, measure an equal distance (e.g., ½”) from each side of the corner to create a pivot point.
Step 2: Sew to the Pivot Point
Sew along the edge of your fabric with your chosen seam allowance. Slow down as you approach the corner. Stop sewing at the marked pivot point.
Step 3: Pivot the Fabric
- With the needle down in the fabric, lift the presser foot.
- Rotate the fabric 90 degrees to align the next edge with your sewing line.
- Lower the presser foot and continue sewing.
Tip: For crisp corners, backstitch just before and after the pivot point to reinforce the seam.
Step 4: Trim and Press
If you’re turning the fabric right-side-out (like for a pillow), trim the corner diagonally near the seam to reduce bulk. Be careful not to cut through the stitches. Then press flat for a sharp finish.
How to Sew Inner Corners
Inner corners require a bit more finesse to avoid puckering.
Step 1: Mark the Pivot Point
Mark the seam allowance from both directions (e.g., ½” from each edge), and where they intersect is your pivot.
Step 2: Sew to the Pivot
Stitch carefully up to the pivot mark. Leave the needle down in the fabric when you reach the point.
Step 3: Clip Into the Corner
Before pivoting the fabric, clip into the seam allowance at the inner corner—just up to the pivot point. This allows the fabric to spread slightly and prevents bunching.
Step 4: Pivot and Continue Sewing
With the needle down, lift the presser foot, pivot the fabric, and lower the foot. Continue sewing along the next edge.
Pro Tip: Always clip carefully—cutting too far can weaken the seam.
Final Steps: Pressing and Finishing
After sewing the corner:
- Press the seams open or to one side for a polished look.
- Turn right side out (for items like bags or cushions) and push out corners gently using a blunt object like a chopstick or corner turner.
- Topstitch around the edge if desired for durability and aesthetic.
Practice Makes Perfect
Corners can be tricky at first, especially if you’re working with thick or slippery fabrics. Practice on scrap fabric to get the feel of pivoting, clipping, and trimming. In time, you’ll develop muscle memory for handling corners with confidence.
Common Mistakes to Avoid
- Not marking the pivot point – Guessing can lead to uneven corners.
- Forgetting to leave the needle down when pivoting – This can shift your stitch line.
- Clipping too far on inner corners – It’s easy to weaken the seam or cause fraying.
- Not trimming outer corners – This leads to bulky, rounded edges.
Final Thoughts
Learning how to sew around corners is a small but mighty skill that elevates the quality of your handmade projects. Crisp corners bring your work to life, whether you’re making garments, accessories, or quilts. With careful marking, slow stitching, and a little patience, your corners will soon look flawless.
LEARN TO SEW OR IMPROVE YOUR SKILLS
Do you want to start sewing but need a helping hand with the basics? Our Sewing 101 course has everything you need to start sewing confidently and improve your skills. Be sure to join our free private Facebook group.