How to Sew a Test Muslin Skirt
Now we want to sew up our test muslin to see how our skirt fits. You can read why a test muslin is important here.
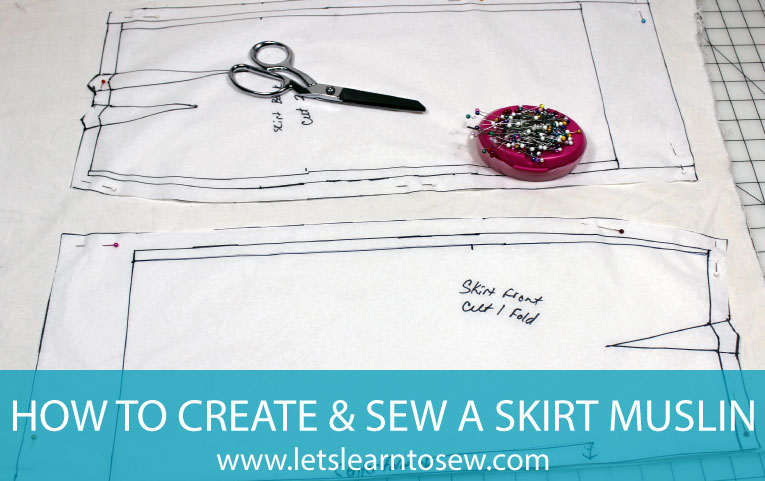
Creating the Muslin from the Pattern
This works just as if you were cutting out a pattern from the fabric store. There are two main ways to get your pattern onto the muslin. The first is to pin it down, trace around it and then cut it out. The second way is to pin it down and cut it out. I prefer to pin it down and cut it out.
Transfer your marking
The darts will need to be transferred from the pattern onto the wrong side of the muslin. You can use transfer paper made for fabric that works just like carbon paper. I think this is the quickest and easiest way. The other method is to place a pin in the point of the dart and make a mark. Next, make a tiny snip at the top of each dart leg. Finally, redraw the darts. Make sure you transfer all of the darts. Remember, the front was cut on the fold but has a dart on the left and right side.
Setting up the Sewing Machine
A muslin is usually sewn with a basting stitch. This allows for easy removal of stitches if charges are needed. Set the sewing machine to a basting stitch. If your machine does not have one increase the stitch length to about 5. Backstitch at the beginning and end of all seams. Do not backstitch at the end of the darts.
Sewing the Darts
Darts can be a tad intimidating if you’ve never had to sew one before. I’m going to show you how to sew a dart that ensures you never have a pucker.
- Fold the dart so that the right sides of the dart legs are touching. You should be able to see your markings.
- Place a pin through one side of the dart leg and out the other side. Your pin should come out on the other marking. If it did not realign the dart so that it matches up. I usually do this in 2-3 spots.
- Sew the dart by sewing on the line. Backstitch just a tiny bit after the first or second stitch.
- When you get to the end of the dart, sew off the edge of the fabric. Do not backstitch.
- Leave a thread tail that is at least 4″ long.
- Tie the thread tail in a know to secure the stitch.
Sewing the Front and Back
Start by sewing the back together on a 5/8″ seam allowance or the amount that you added to your pattern. Be sure to stop about 8″ from the top, This will allow you to put the skirt on and mimic the room we left for the zipper. Next, place the front and back sections right sides together and sew down the side seams. Again, making sure to back stitch at the start and end of the seams.
How to Fit a Muslin
1. Try the Muslin On, Right Side Out
If you have a dress form in your measurements, you’ll probably find it easier to fit while it’s on the dress form. Otherwise, you’ll need to try it on yourself. Since the skirt has a zipper in the back you will probably need to get a bit of help from a friend. If no one’s available to pin you into the skirt it’s in your best interest to add some type of closures to get the best idea of how the garment actually fits. Be sure to baste them in and you’ll be able to easily rip them out and reuse for your final garment.
2. Try the Muslin On, Wrong Side Out
This is when you’ll pin and mark any adjustments for the final garment. Perhaps the side seams need to be taken in, or maybe you need to lengthen it. The darts may need to be let out or taken in. Adjust as needed until you’re satisfied with the fit.
3. Take the Muslin Off and Deconstruct It
At this point, you can transfer any small changes directly to your pattern or make new pattern pieces based on the muslin if the changes are more dramatic.
Once you’ve made all the needed changes go ahead and use the altered pattern to cut out your skirt on your fabric.