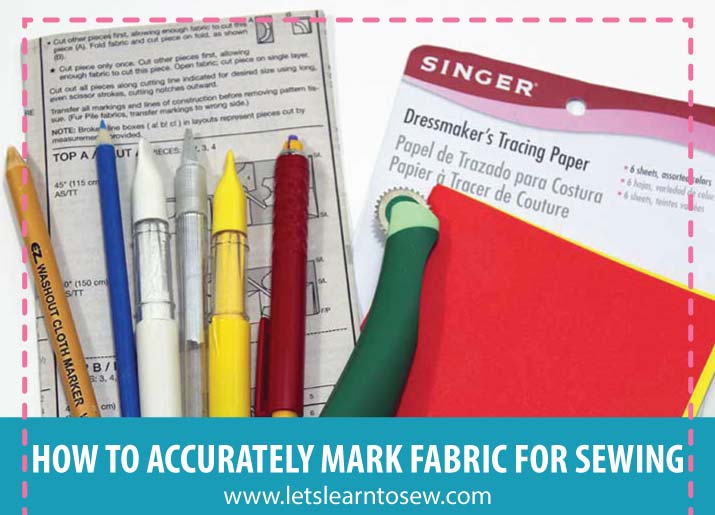
Whether you sew garments, quilts, accessories or home decor, you will find that some projects require you to temporarily mark the placement of closures, darts, pockets, appliqués, stitching lines and other design elements. Sometimes a pin or a small snip in the seam allowance will do, but you often need more precise markings that won’t disappear too quickly but also won’t scar your fabric forever.
Pattern Markings to Transfer Onto Fabric
When you open your pattern, you will notice many marks on the pattern pieces. Most of these marks will need to be transferred onto the fabric. Some patterns suggest marking the stitching line, I only do this for decorative stitching that has to be precise.
Darts — Darts are the triangular shaped lines on the fabric and are there to help give your garment shape. Use a tracing wheel with dressmaker’s carbon paper or a washable marker to transfer the darts onto your fabric. These need to be very straight and accurate. I always use a ruler for marking darts.
Dots and Notches — These marks are used for matching the different pattern pieces when you sew them together. When you are just starting out or the pattern is very intricate don’t skip marking these.
Gathering Points and Centers — Gathering points show you where to start and stop your gather stitching. Center points help accurately match the pattern pieces when you sew them together.
Buttonhole Placement — Use chalk, washable markers or soap to mark the buttonhole placement. Always check the marks again after sewing the garment to make sure they are placed correctly.
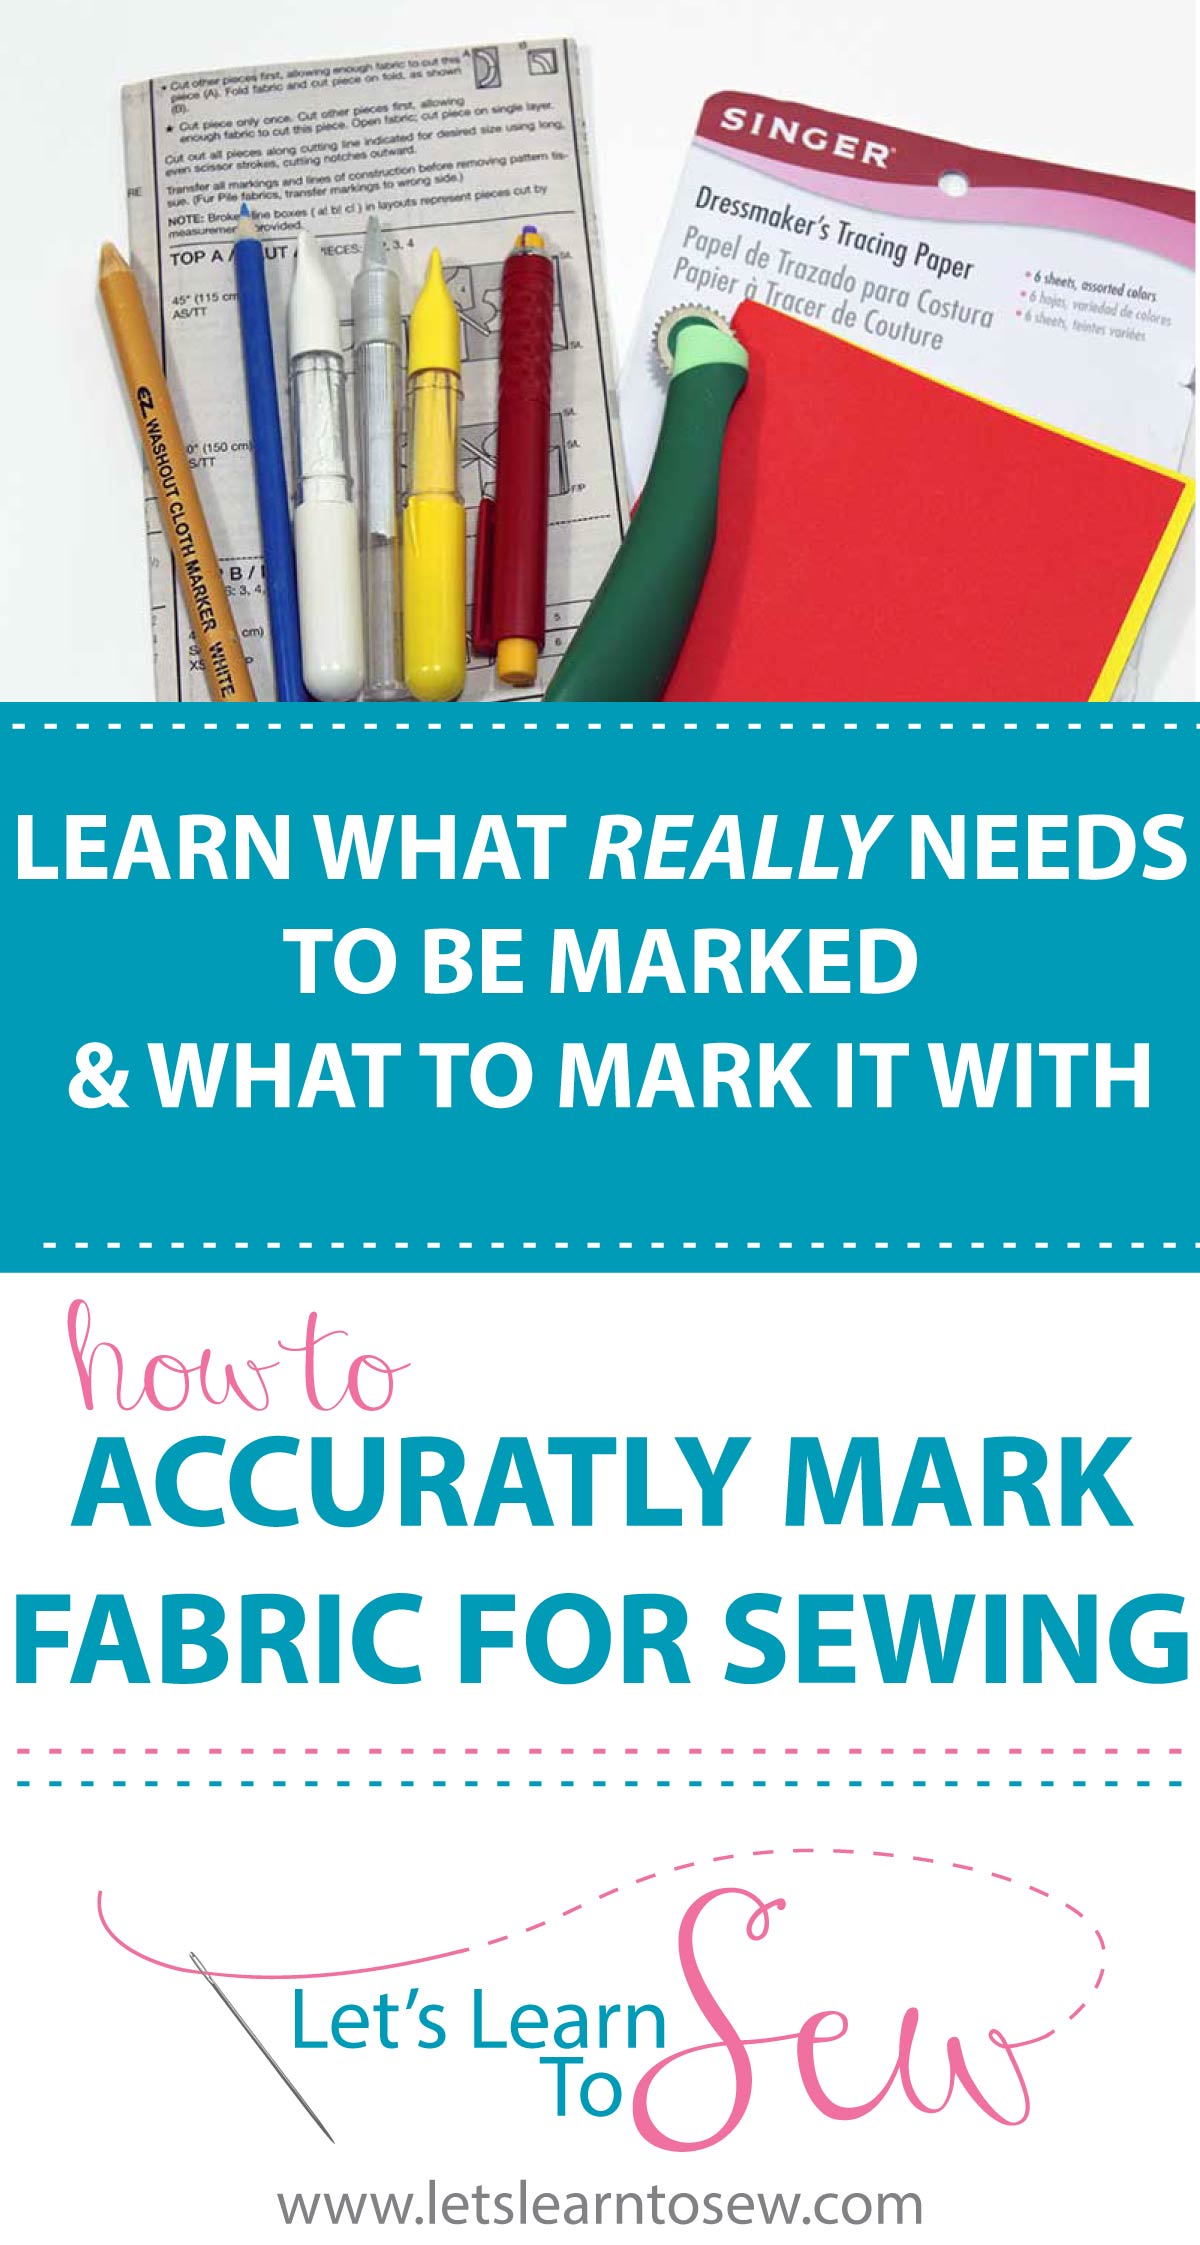
Marking Tool Options
There are many tool options for marking your fabric, and everyone seems to have their favorite. Test them out on a small scrap of fabric first to see which one you prefer and to make sure that the mark can be removed later
1. Chalk Pen — This is my favorite for quick markings like where seams need to meet up, spots that need to be gathered, button placement, or center points. The holder keeps the chalk from getting on your fingers while you’re working. You can choose which color chalk will show up on your fabric best. This is not a great option for children.
2. Clover Chalko Pen — Clover Chaco Liner Pen Style Chalk Marker. Pen Style Chaco Liners fine point permits the accurate drawing of both straight lines and freehand curves. The fine point makes lines and marks more visible and is easy to use with a straight edge ruler. Easy replacement refill available. Chalk washes or brushes away. This is what I grab when things have to be precise. This is also what I use with children in my classes.
3. Washable marking pen — There are many colors available and they are fairly inexpensive, which makes them a good option if you’re just starting out. I don’t like to use them in most cases because they tend to drag while marking and you have to wash the marking out. Most, even the ones that say disappearing, don’t fully disappear until washed.
4. Tracing wheel and dressmaker’s carbon — Tracing wheels are available in smooth or spiked versions and are great for transferring paper patterns onto fabric. The dressmaker’s carbon paper is available in many colors so you can choose the color that will show up on your fabric best. Tracing wheels are great when marking pattern outlines and darts.
5. Tailor’s chalk — Tailor’s chalk is more compressed than regular chalk so it doesn’t crumble as easily and makes a sharper line on the fabric. Rubs off when you are finished.
How to Mark the Fabric With A Tracing Wheel
Always test to be sure that wheel will not damage the fabric.
- Work on a protected hard surface.
- Mark on the wrong side of fabric only, following instructions on Tracing Paper package.
- Apply even pressure.
- To keep the fabric from bunching up, roll the blade forward, then slightly backward motion as you trace along the line. Hold fabric taut in front of the tracing wheel.
Use a See-Thru Dressmaker’s Ruler as a guide for tracing straight lines.
Before you remove the entire pattern, check to make sure the lines have transferred completely and visibly onto the fabric.
HAVE YOU TRIED ALL OF THESE TOOLS OR MORE? WHAT ARE YOUR FAVORITES?
Don’t miss the rest of the series!
- The Tools Of The Trade
- Top 10 Sewing Machine Stitches to Master
- Fabric 101: A guide to Choosing Fabric
- Sewing 101: Basic Sewing Terms You Need To Know

Your post takes me back to the times when I used to sew as a hobby. Those were such fulfilling times. Needless to say I am well acquainted with sewing equipment as tailor’s, chalk, tracing wheel, and dressmaker’s carbon. I am also well acquainted with, darts, dots and notches and other placement marks that are placed o n the fabric in garment construction. Thanks for reminding me of a beautiful time in my life
Great tips! I used to sew any clothes before. I use tracing wheel and a piece of wax(the orange one) to mark the fabric! 🙂
Great article! I don’t see but there was so much information in this post for those that do.
Tailor’s chalk is definitely my favourite. I find using normal chalk doesn’t work for me, especially on more slippery fabric.
Such great information! I used to sew as a child and I really miss it. This makes me want to get back into it:)
Very useful tips… I got a sewing machine 2 Christmases ago and have still not really used it other than a few repairs here and there. I want to try a simply dress pattern for my 5 year old and these will come in handy 🙂
These are great tips. My mom used to do this way back.
These are such useful tips I need to pin this article for referrance later. My mom was always our seamstress and knew all these terms I wish I had paid more attention when she tried to teach me.
Great tips! I’ve been debating whether or not to learn how to sew, so this comes in handy.
This is great timing. I was just thinking about how I want to start sewing. My mom got her sewing machine fixed and I haven’t tested it out yet, but I’m making a space in the house for it so I can sew cloth napkins and dog clothes. Hehehe
I have been sewing for a very long time and still enjoy it. retirement gives me a lot of ME time. Now I am trying to learn more in order to enhance my skills. Some information will be a refresher but there is still so much that I either don’t know or needs improving. I am back in school