Joining two pieces of fabric together in a perfectly straight seam is essential for almost every sewing project. As a beginner, when two pieces of fabric are to be sewn together, it's necessary to use pins so they don't move about when you sew.
I Don't Want To Sew Over A Pin!
There are several ways to pin your fabric. The two most used are off the edge and long ways. The problem is, either way, mean you have to remove the pins as you sew to avoid sewing over them. If you are new to sewing that usually means having to stop the machine, remove the pin and then begin sewing again.
I noticed in my classes that one of the biggest fears my students had once they mastered threading the machine was hitting a pin. I then decided to try out the method I used with kids on adults. Voila, the fear was instantly removed! You see if the pins are back out of the way, and you can see that they are out of the way you have nothing to fear. Another plus is you don't have to slow down or stop until you are done with that seam!
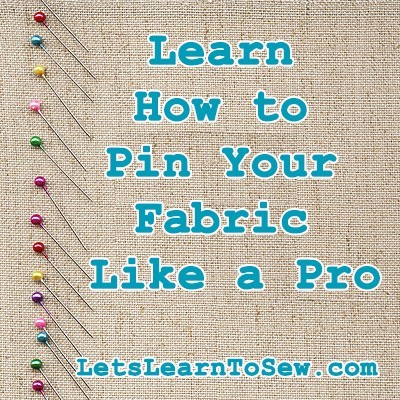
In this video, you will Learn how to Pin Your Fabric Like A Pro
Begin by placing your fabric right sides together unless your directions say other wise. Place pins perpendicular to the raw edge of the fabric. Keep the pins further back from where the seam stitching will be when the seam is sewn. You will never sew over a pin again and save yourself time!
Do you still have some apprehension when it comes to using your sewing machine? Sewing Machine Boot Camp was created to help you overcome that feeling! Sign up now using this link, Sewing Machine Boot camp, and the course is FREE!



Leave a Reply