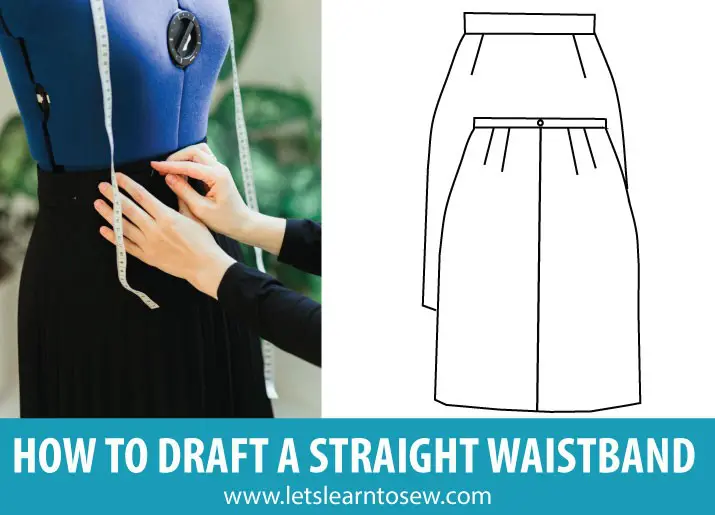
Over the last month or two, I’ve been showing you how to draft a skirt block to your own measurements, as part of The Skirt Series. In today’s post, I am going to talk about drafting a waistband for the skirt. If you have just made the skirt block and need to make a muslin to see how it fits, I wouldn’t bother making a waistband. You are better off stitching up a quick muslin, checking how it fits, and then once you are happy with it, making the waistband.
Types of Waistbands
A waistband is not only a way of finishing a waistline, but it also allows the skirt or pants attached to it to sit correctly on the body. There are two basic types of waistbands, straight and curved. A straight waistband is a long rectangle that generally does not have side seams. A curved waistband or shaped waistband may, or may not, have side seams.
Should I Draft a Straight or Curved Waistband?
Either option can be drafted for the skirt block, and which is better for you comes down to individual preference and body shape. For me, I am a little too curvaceous in the lower half to feel comfortable in a straight waistband.
In today’s post I will show you how to draft a straight waistband, and then next week I will get to shaped waistbands. And then you can work out which one is for you! The good thing about drafting your own waistband is that you will be able to use it whenever a waistband is called for, and you know that you will get a great fit every time.
Supplies for Drafting a Waistband
- Rulers
- Pencil and eraser
- Pattern Drafting paper a few inches bigger than your waist measurement
How To Draft a Waistband
- Draw a straight line the length of your waist measurement plus the 1/2″ we added in for ease.
- Determine the height of your waistband. A 1″ waistband is usually a good place to start for a straight skirt as we drafted.
- Draw a perpendicular line from either end of your original line, the height of your waistband.
- Complete the rectangle by connecting the endpoints of the lines drawn in the previous step.
- You should now have a basic rectangle.
- Go around the entire rectangle adding the 5/8″ seam allowance
Add Pattern Details
Make sure after drafting the waistband that you mark the pattern piece with what it is (skirt waistband), cut 2 on fabric and 1 on interfacing. I also like to also make note of the measurement.
Do you prefer a shaped waistband or a straight waistband?