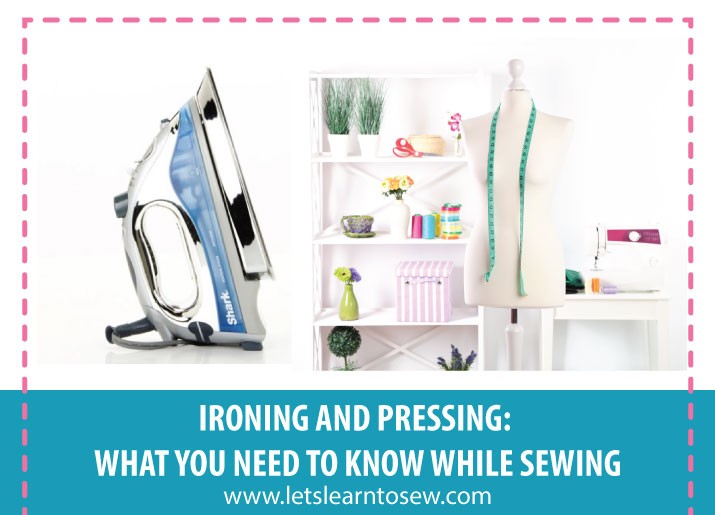
Ironing and Pressing: What You Need To Know While Sewing. If you want to make sure you get professional results, careful pressing is just as important as accurate stitching. Each time I get ready to sew I make sure my iron is ready to go and I press as I go. This means I never sew cross one seam with another without first pressing the original seam.
Pressing Vs Ironing
When pressing you gently lift the iron and place it back down as you move from one pressing point to another. Ironing is accomplished by moving the iron back and forth over the fabric. Most sewing patterns call for different types of pressing, not actual ironing. Running the ironing back and forth on the fabric as we construct our project can actually distort the fabric.
Finger Pressing
Finger pressing is exactly what it sounds like. You use your fingers to press the fabric, usually when pressing a seam open. I will often times press a seam open with my fingers and then carefully run the iron behind the hand that pressing open. Of course, you want to make sure you don’t get the iron too close. A stiletto can be useful to avoid getting burnt as well as the Clover Roll & Press.
Press As Sewn
To avoid ripples, waves and other distortions along seam lines, get in the habit of pressing seams smooth as soon as you sew them. After you stitch any straight seam, press it as sewn. Then turn it over and press the other side. This will blend or meld the stitches. Take care to use a pressing cloth on delicate fabric.
Press Open
Press the seam allowances open from the wrong side. Sometimes finger pressing first makes it easier to get the tip of the iron down the seam. Turn the garment over and press again from the right side.
Press To The Front Or Back
Pressing to the back or front is when you press the seam allowance towards the front or back of the item being sewn. You will usually find this in garment construction such as pleat. Quilts are also usually pressed to one side or the other. Most quilters press towards the darker fabric.
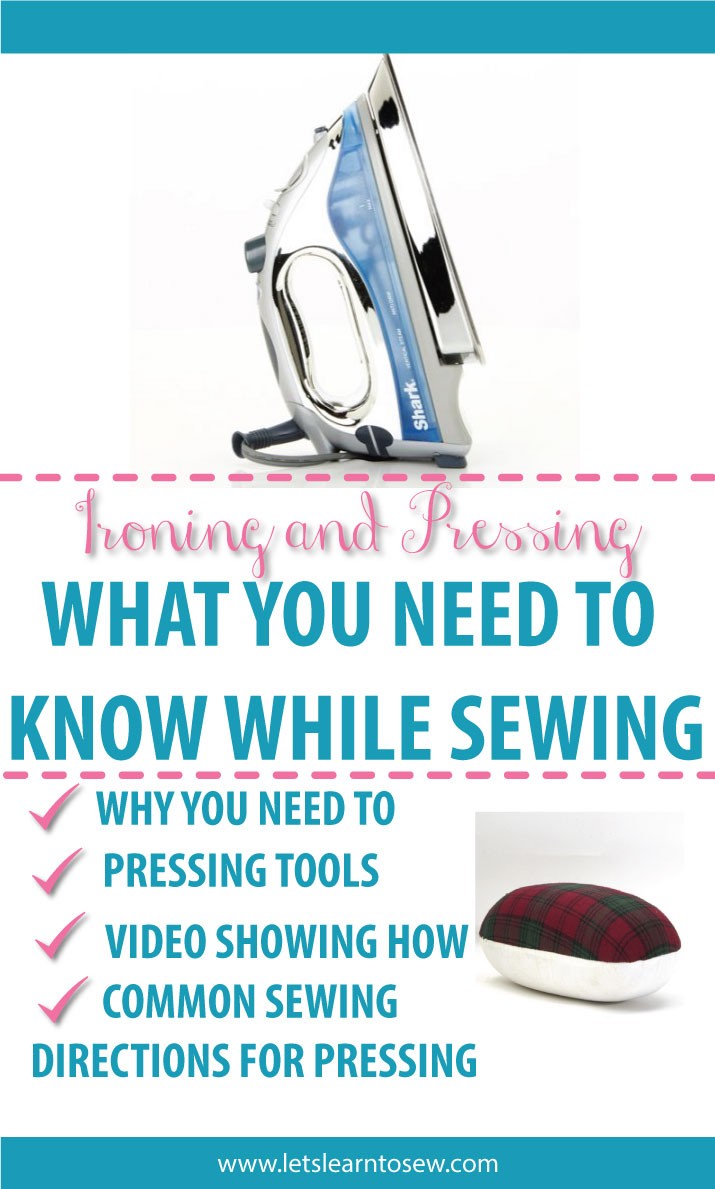
Ironing and Pressing Aids
Aside from your iron and ironing board, there’s a wide range of pressing tools available.
Dritz Tailor’s Ham

The Dritz Pressing Ham is ideal to iron curved seams and hems. It is ham-shaped and lends comfort and convenience while ironing different types of garments. One side is covered with cotton and other with wool to suit various fabric textures. This pressing ham can be used to shape and molds darts, collars and seams. The contoured shape of this pressing ham makes ironing simple and effective.

Dritz Seam Roll
The seam roll is narrow enough to fit into a sleeve and pant leg. Its shape prevents a ridge from forming when pressing seams open, provided seam allowance is wide enough.

Dritz Pressing Cloth
A pressing cloth lets you see as you press. Protects from shine, scorch, water spots and pressing marks and can be used with dry iron or steam. When sewing delicate fabric a pressing cloth is a must. If you don’t have a pressing cloth you can make one from cotton fabric.
If you’re not in the habit of pressing as you go, give it a try on your next few projects. I think you’ll find it doesn’t add that much time and the results will impress you.
Have a fogotten anything? Do you have a favorite pressing tool I haven’t listed?

This is bringing back some major memories! I am so not a sewer, but I love love knowing the basics and how to make repairs!
Oh wow… Never knew ironing could be done with such finesse..
I am a quicky person and i’d just plug in the iron, let it heat up a lil bit and get on with it..
Whao ! This is a good eye opener when it come to ironing and sowing . Lovely post by the way .xx
This is great advice! I need to remember these!
I just bought a sewing machine trying to learn how to sew. This is a great basic!
myfootprintsaroundthglobe.com
Very helpful tips
Everything about Ironing and Pressing is well elucidated. Will surely try this If I get the chance. Thank you!
I need to save this. It reminds of back in the day with my mom. I’m avoid ironing at all cost 😂 but I need to learn to love the skill