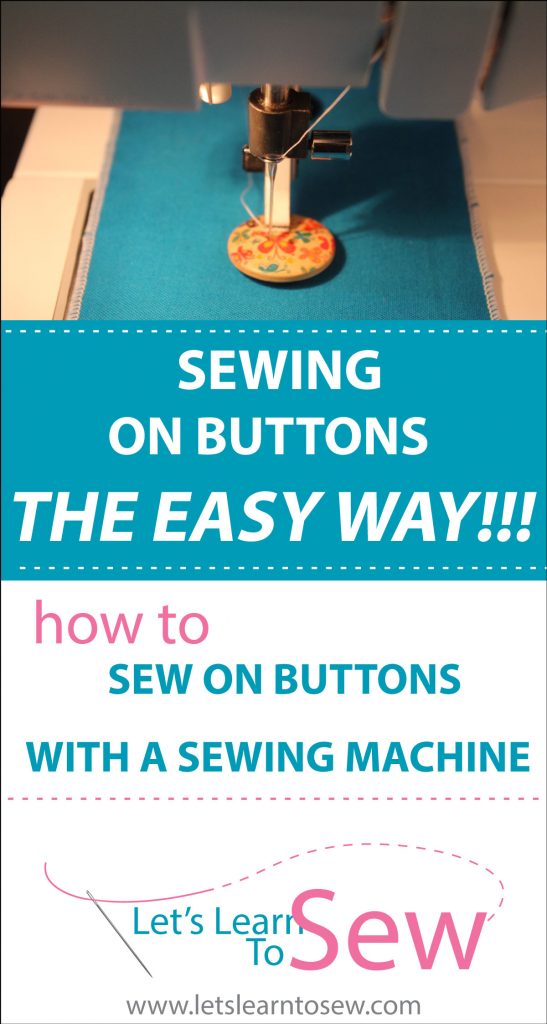
Between making costumes and clothing for customers for 15 years and raising three kids you can bet I've sewn on a lot of buttons! Since I don't like hand sewing or wasting time and I want a secure button I use my sewing machine to sew buttons on whenever I can. It does take doing a few to get the hang of it but once you do you'll never go back to hand sewing them. Let me show you just how easy it is to Sew on a Button with a Sewing Machine
First, I know a lot of people tell you to tape the button down to the fabric but you don't need to. In fact doing so can damage your machine. When I began working for Husqvarna Viking we went through extensive training on how to operate the machines. One key component was to keep them working efficiently and how to teach customers the proper way to use the machine, sewing techniques and how to avoid costly repairs.
The easiest way to avoid costly repairs is to keep your machine clean! That means you don't want pieces of tape being broken off into the machine.
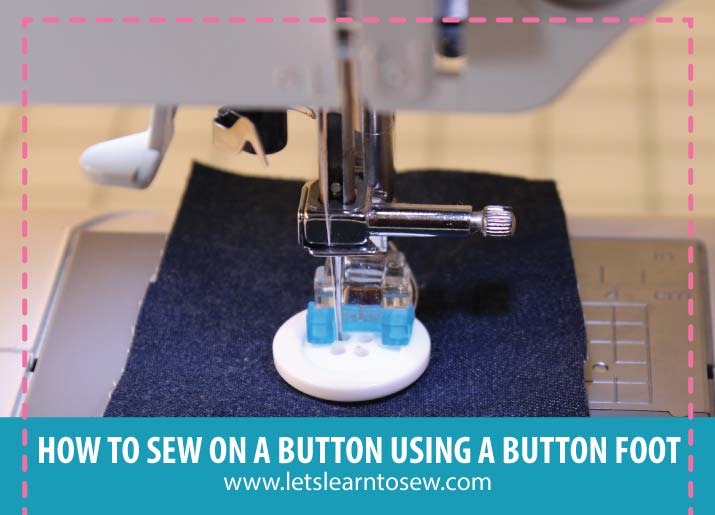
You'll see in the video that I am able to sew the button on without a button foot and without taping the button down.
If the video doesn't play, click this link to view it: How to sew on button using your sewing machine
How To Sew on a Button with a Sewing Machine
Buttons with 2 or with 4 holes can be attached.
- Measure the distance between the holes in the button to be attached.
- Raise the presser foot lever, and then slide the feed dog position lever.
- Remove your regular presser foot.
- Place a button between the presser foot and the fabric. When attaching four-hole buttons, first sew the two holes closest to you. Then, slide the button so that the needle goes into the two holes toward the rear of the sewing machine. Then sew them in the same way
- Select the Zig-Zag stitch or the button stitch.
- Adjust the stitch width so that it is the same as the distance between the holes in the button.
- Set the stitch length to the shortest setting by pressing the stitch length adjustment key.
- Turn the handwheel toward you (counterclockwise) to check that the needle correctly goes into the two holes of the button. Adjust the stitch width to the distance between the button holes
- Start sewing. You want to stitch about 8 back and forth stitches. If your machine has a button stitch it will stop automatically.
- Pull the upper thread at the end of the stitching to the wrong side of the fabric. Then tie it with the bobbin thread. Use scissors to cut the upper thread and the bobbin thread at the beginning of the stitching.When you are finished attaching the button, be sure to raise the feed dogs and set your machine back to straight stitch.
Go ahead, pull out some scrap fabric, a button and give it a try! You'll never go back to hand sewing buttons again. If you need help with buttonholes check out my One-Step Buttonhole Foot Tutorial.





Lora @ Crazy Running Girl
This is really helpful! I never knew that you could use a sewing machine to sew on a button, I always thought you had to do it by hand.
Elle Spann
sometimes sewing on by hand is more fun. for me at least;)
elle
Margaret
I know several people that say the same thing.
Erin (@StorybookErin)
This is so interesting! I would never have thought you could use a machine for a button!
Karen Lyons
My mom's sewing machine is an old one - not like yours, but we both enjoyed watching your video of how to sew a button! Very interesting! 🙂