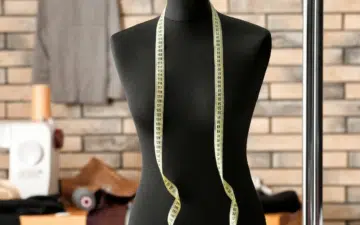
Facings are most often used for finishing and strengthening purposes, but…can also be used for design and aesthetic reasons as well. For example, you can use them to add contrast, decoration, or a unique flare to your sewing patterns! Learn everything you need to know about facings, including how easy they are to draft!
What is a facing?
A facing is another layer of fabric that is stitched to a raw edge of a garment. Its purpose is to finish a raw edge as an alternative to folding over and stitching. It is often turned into the wrong side of the garment and lies flat. However, occasionally it is folded to the right side for design purposes. Generally, the facing mimics the shape of the pattern, except in the case of a bias facing.
Types of Facings
Bias A narrow strip of bias fabric, either store-bought or created at home, is stitched to the garment and turned to the inside. This type of facing is not shaped from the pattern and is often used to save on fabric, or for personal preference. For example, this type of facing may be used on a neckline or to complete a hem.
Separate/Shaped This type of facing is an individual pattern piece that is drafted from the pattern and shaped to create a clean finish. It is stitched on the seam line and turned inside. Most often used for necklines, armholes, waistbands, and hems.
Combined/All in A combined or all in one facing is cut and shaped using both the armhole and neck in combination. This type is most commonly used with vests, halters, dresses, and boleros.
Fold back/Extended This type of facing extends from the pattern piece and is cut altogether and then folded to the inside. It is part of the main pattern piece. Generally, this type is used on a garment opening to prevent a seam line (as is created when joining a separate facing) It helps to reduce the bulk of heavyweight fabrics, like a thick tweed or denim.
*TIP-When using this type of facing, make sure to calculate your measurements carefully. For example, if you want to use it for a button closure, instead of a placket, make sure to calculate the extra width. In other words, it will not fold at the center front because you want an overlap. Make sure to plan things out carefully before investing too much time upfront!
Outside This one is very similar to a shaped/separate facing with the intent of the piece being visible. It is decorative but still conceals raw edges.
Interfacing
Oftentimes, a facing includes will be interfaced. Especially if it is used for stability. However, you do not have to always use interfacing. For example; a bias neckline facing wouldn’t use interfacing.
I encourage you to think about the construction of the garment before you start drafting any pattern! Really give the whole process attention. I like to start with an idea/sketch. Then, I think about the fabric and construction, followed by planning the pattern drafting steps. Make sense?
Things to consider…
- DESIGN – Like I mentioned above, think outside the box! Think about putting your facings on the outside of your garment and using a pretty contrast fabric, or even a unique print!
- SEAM ALLOWANCE – Please, please, please think about seam allowance, fold lines, etc. BEFORE you draft a facing. Does your pattern have seam allowance? Do you want less of a seam allowance to reduce bulk?
More tips and tricks…
- DARTS – If you have darts in your pattern, like a in the waist of a skirt..NO WORRIES! Simply follow the same procedure, close the dart, and then blend and true all your lines!!!
- FINISHING – Again, think outside the box! How will you finish the edge of the facing. Will you serge the edge, will you use a Hong Kong finish, what about a contrast binding! The possibilities are endless!


Leave a Reply