Snaps are one of my favorite closures. They’re small yet sturdy, and the snaps don’t get stuck on things like velcro. Babyville Snaps are also very easy to open and close.
With a new granddaughter, I’ve used them on several recent projects and thought I share just how easy they are to insert on just about anything. Don’t have a little on in your life? Plastic snaps are great on so many projects, not just ones for kids!
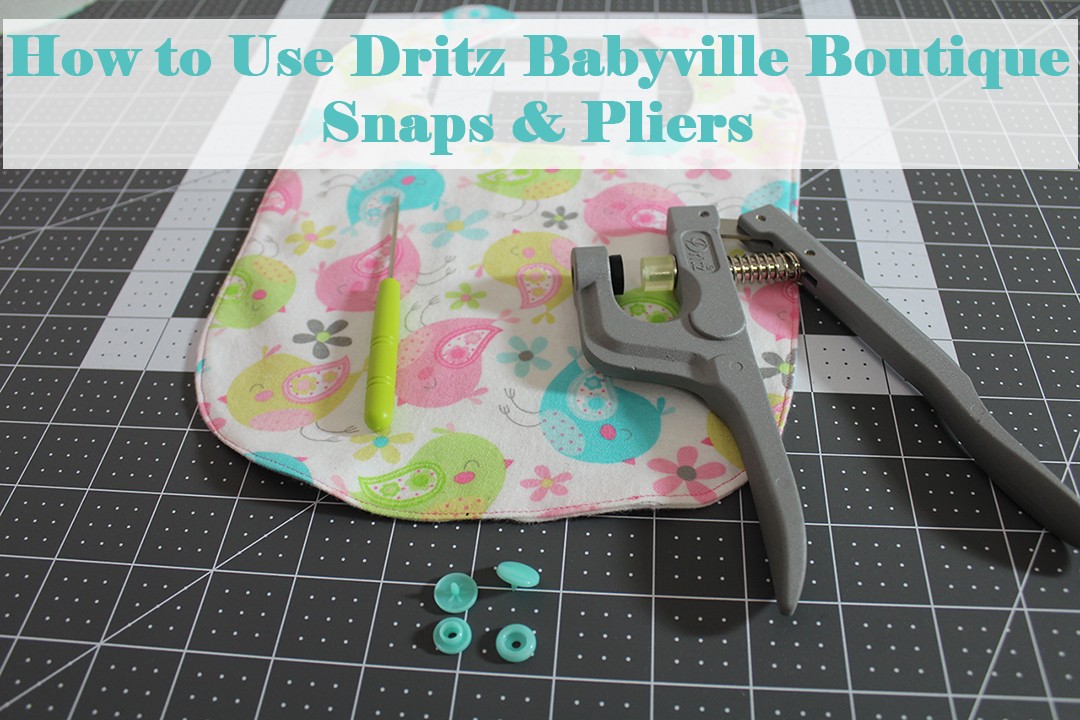
What You’ll Need To Apply Snaps Using Snap Pliers:
Babyville Boutique Snap Pliers kit
Your project
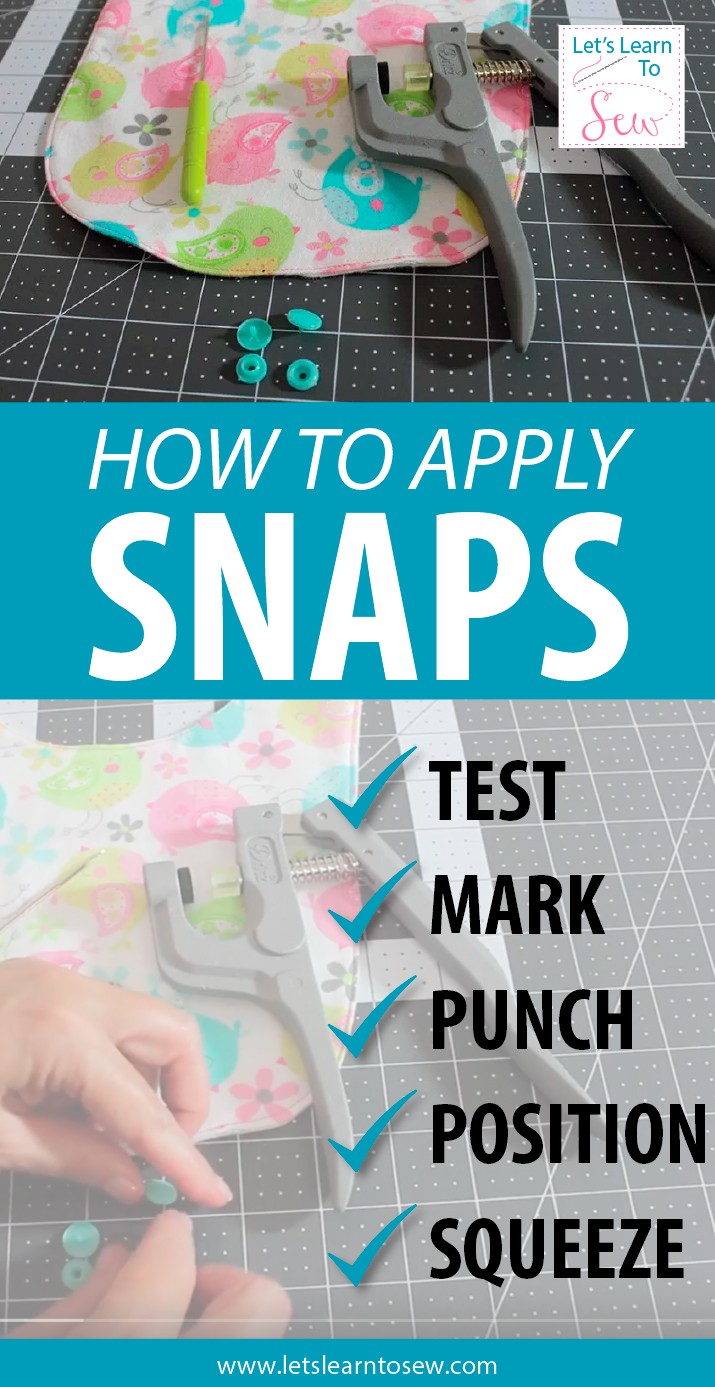
How To Apply The Snaps
For best results: Test first on several layers of fabric.
1. Mark the placement of snaps on your project.
2. Use the awl to make a small hole in the fabric.
3. Insert the prong of the snap cap into the
hole and place the socket over prong.
3. Position the pliers with cap in black die tray and socket under rubber pressing head.
4. Center the cap in the die tray. Squeeze pliers firmly to secure.
5. Repeat with the second cap and stud.
If you’re interested in the bib pattern and video instructions, they can be found here: How To Sew A Baby Bib and Apply Snaps. The baby bib pattern comes with two neck options: one that snaps in the back and one on the side. The videos are broken into easy steps and the techniques can be used on other projects.
Babyville Snaps are tested and proven to be safe for babies.


I recently found some of these in my mom’s sewing stuff and I’ve had a real hankering to use them! I haven’t got a chance yet but I’m keeping my eyes open for my opportunity. 😄