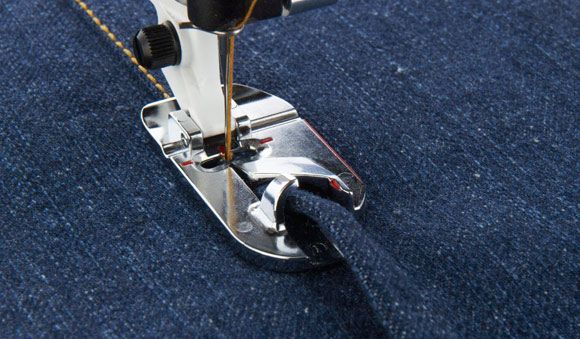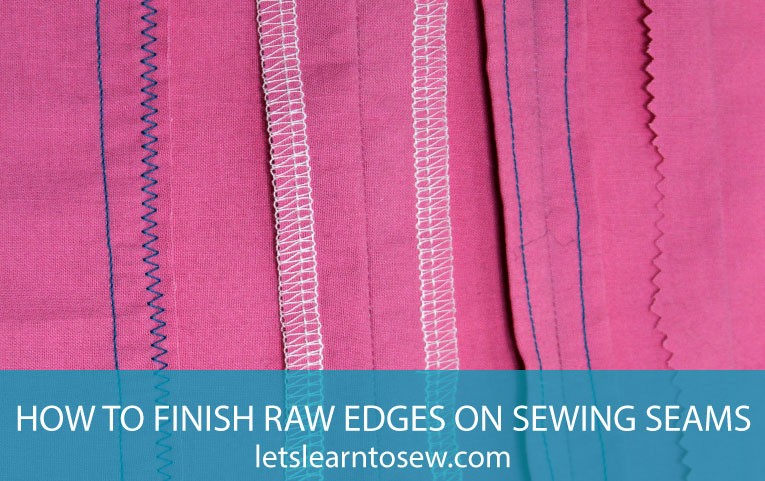
Clean Seams
The seams in a garment or project perform the vital job of holding everything together, but they can also tell a lot about the maker. Frayed or ravel seams are one of the tell-tell signs of a homemade item. Not to mention they can be irritating on the skin and leave threads behind with each washing. That’s why before we move on to our next garment project I want to cover how to finish raw edges. Seams need to be finished in a way that is both appropriate for the fabric and the usage of the project. Let’s go ahead and look at how to finish the raw edges on sewing projects.

Overlocked/Serged Seam
A sergered of overlock seam is the quickest and most convenient way of finishing a seam. You can either serge the edge before sewing it together, serge it as you create the seam or serge each edge after sewing the seam. Serged seams are ideal for all types of seams and fabrics.
What do you do if you don’t have one? Don’t worry; there are still many ways to finish your project.
Pinked Seams:
Pinking shears are probably the easiest way to finish your seams and prevent raveling or fraying if you don’t have a serger. All you need is a pair of pinking shears. These sewing essentials feature sawtooth blades that leave a zigzag pattern instead of a straight edge, helping to prevent fraying and keep your projects looking crisp and clean. Pinking Shears are also a great way to add a decorative edge to projects. This seam finish is most effective on tightly woven fabrics.
Rotary Cutter– Wavy Blade
The pinking blade is designed to place ”teeth” on the edge of the fabric to reduce raveling and to add a unique edge to any project. The wavy blade works just like pinking shears. I like this option on heavy fabric because it’s easier on the hands. Just make sure you have a cutting mat under your project when using a rotary cutter.

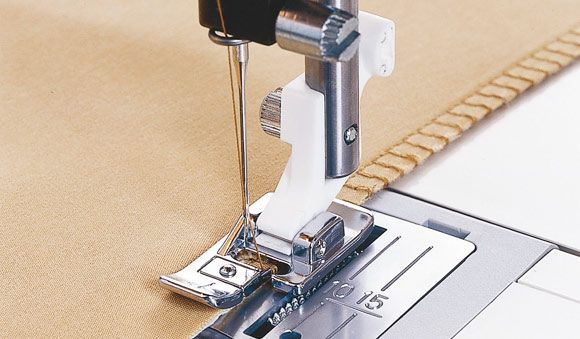
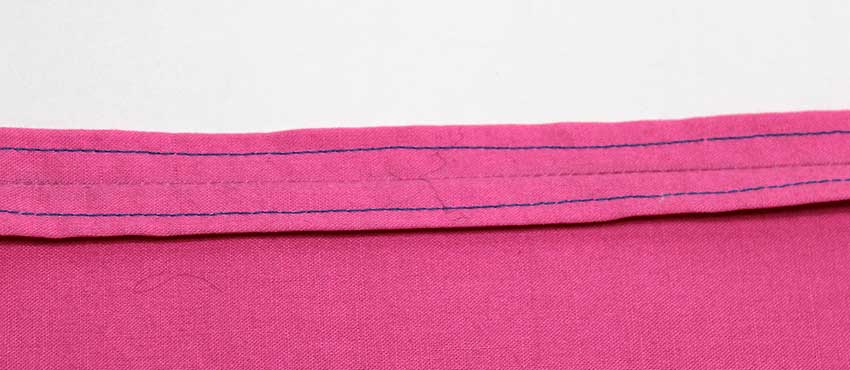
ZigZagged Seams
Zigzagging gives a good finish on more stable fabrics such as cotton poplin or linen. It also tends to give a better finish on closed seams. the double layer of fabric stabilizes the zigzag stitch.
Sew the seam and press it flat to set the stitches.
- Set the machine to a medium width and stitch length. I usually do a test stitch to make sure I like the setting.
- Line up the seam allowance under the presser foot so that the right-hand side of the zigzag sews about 1/8″ (3 mm) away from the edge of the seam allowance. Sew down the length of the seam.
- Trim back the seam allowance to the line of zigzag stitching.
- Press the seam to one side. Usually towards the back when it’s a garment.
Overcast Seams
The overcast seam is a bit like an elaborate zigzag. I’ve also heard this referred to as a mock overlock seam. Most modern sewing machines today have at least one version of an overcast stitch. It gives the look of a serged seam. This stitch can be used on most fabrics and can also be used on jersey fabric. As with the zigzag, the best finish is obtained by sewing the overcast stitch on the entire seam and then trimming back the excess fabric close to the stitching. The overcast foot makes it even easier.

French Seam:
The French seam is a nice, neat seam that is sewn twice to enclose all the raw edges. This seam is perfect for lightweight fabrics. It isn’t really suited to heavier fabrics, as the folded-over seam would create bulk.
- Place the fabric with the wrong sides together and sew a 3/8″ (1cm) seam. Trim both sides of the seam allowance back to 1/4″.
- Press the seam as sewn to set the stitches
- Fold the fabric back on itself so that the right sides are together, enclosing the raw edges of the seam allowance. Crease along the seam line, press and if needed pin in place. Always be careful when using pins on thin or sheer fabric. If your pins are dull it can snag the fibers and cause “runs”.
- Sew a second seam just under 1/4″ (6mm) wide, encasing the seam allowance within the seam. Press the seam allowance to one side.
Turn Under and Stitch
This is an excellent way to finish a seam but it does take a bit longer than some of the ones I’ve already mentioned and it best for light and medium weight fabrics.
- Stitch the seam and press it open. Press under the raw edge of one side of the seam allowance by 1/8″ (3mm). It doesn’t have to exact. It should cause the raw edge to match up to the inside of the seam. Don’t forget to use a pressing cloth under the seam allowance to prevent the seam from marking through to the right side of the garment.
- Edge stitch the fold to hold it in place.
- Repeat this step for the other side of the seam allowance.
Which is your favorite way to finish a seam? Are there any other ways you’ve seen that I didn’t explain that you’d like me to cover?