• Bloglovin
  • Facebook
  • Instagram
  • Pinterest
  • YouTube
  • Skip to primary navigation
  • Skip to main content
  • Skip to primary sidebar
  • Skip to footer
Let's Learn To Sew
  • Home
  • Blog
  • Start Here
  • Sewing Basics
    • Sew Alongs
    • Pattern Making Basics
  • Online Workshops
    • Free Sewing Machine Boot Camp
    • Sewing 101
    • Sewing 101 For Kids
    • Serger 101
  • Sewing Patterns & Supplies
    • Resources
menu icon
go to homepage
search icon
Homepage link
  • Join Our Community
×

How to Change Out The Feet On Your Sewing Machine

February 14, 2016 by Margaret 2 Comments


How to Change Out The Feet On Your Sewing Machine

Your Machine usually comes with the general or all-purpose foot attached. You can easily  Change Out The Feet On  Your Sewing Machine in less than a minute! Your owners manual should explain how but just in case it doesn't or you just like to see it being done I've created a quick video to show you how.

Why Should You Change Your Sewing Machine Feet?

Changing your sewing machine feet out allows you to add interesting features to your projects, sew on zippers with ease and be more precise with your sewing. Most machines require a special foot for ruffles, zippers, and buttons. The old saying having the right tool for the job applies to your sewing too.


How to Change Out The Feet On Your Sewing Machine

If you can't view the video above click this link to view it on YouTube. How To Change Your Sewing Machine Foot 

  1. Raise the needle to its highest position by turning the hand-wheel towards you then raise the presser foot lever.
  2. Release the foot by raising the lever at the back of the holder.
  3. Put the presser foot on the needle plate so that the bar on the presser foot is in line with the slot on the shank.
  4. Lower the presser foot lever and fix the presser foot onto the shank. If the presser foot is in the correct place, the bar should snap-in.

** If the presser foot is not installed with the correct orientation, the needle may strike the presser foot. This may bend or break the needle and cause injury.**

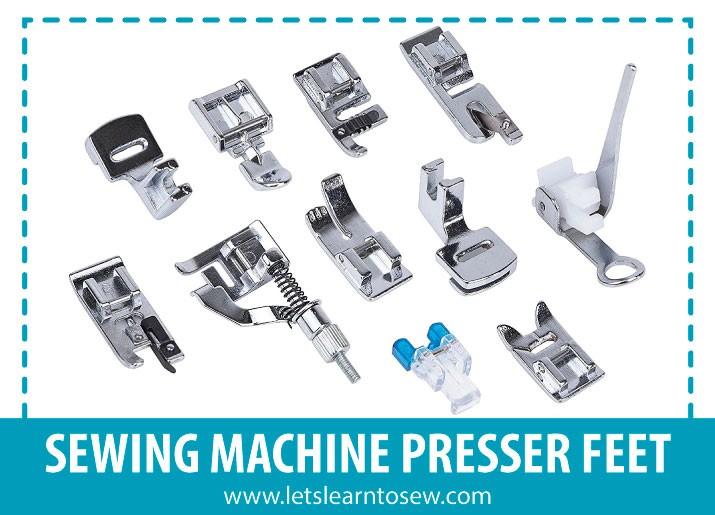
Are having trouble identifying the machine feet that came with your machine? Check out: Learn The Basic Sewing Machine Presser feet.

Related Posts:

  • How To Change The Needle On A Sewing Machine
    How To Change The Needle On A Sewing Machine
  • Master Your Sewing Machine Feet
    Master Your Sewing Machine Feet
  • Learn The Basic Sewing Machine Presser Feet
    Learn The Basic Sewing Machine Presser Feet
  • Types of Sewing Machine Zipper Feet
    Types of Sewing Machine Zipper Feet
« Learn The Basic Sewing Machine Presser Feet
How To Use a Magnetic Seam Guide »

Reader Interactions

Comments

  1. Manuel Riko

    August 01, 2018 at 10:53 pm

    Really helpful post. I often got stuck with this appropriate situation, when the thread got stuck on the hoop and the feet won't work. what should i do then?

    Reply
    • Margaret

      August 03, 2018 at 2:33 pm

      Are you using the feet that came with your machine? What do you mean the feet won't work? What hoop are they getting stuck on?

      Reply

Leave a Reply Cancel reply

Your email address will not be published. Required fields are marked *

This site uses Akismet to reduce spam. Learn how your comment data is processed.

Primary Sidebar

Start Here Sewing Basics Serger Basics Resources Pattern Testers Online Workshops Pattern Making Basics Sew Your Own Wardrobe Alterations Mending & Repairing

Recent Posts

  • Online Sewing Course for Kids
  • How to use Double-sided Fusible Tape
  • How to Join and Pattern Match Fabric
  • How to Sew a Christmas Stocking
  • Top 5 Mistakes To Avoid Before Cutting Fabric

Footer

  • Bloglovin
  • Facebook
  • Instagram
  • Pinterest
  • YouTube
  • About Me
  • Affiliate Program
  • Copyright, Disclaimer, and Disclosure

© 2023 Let's Learn to Sew· Log in