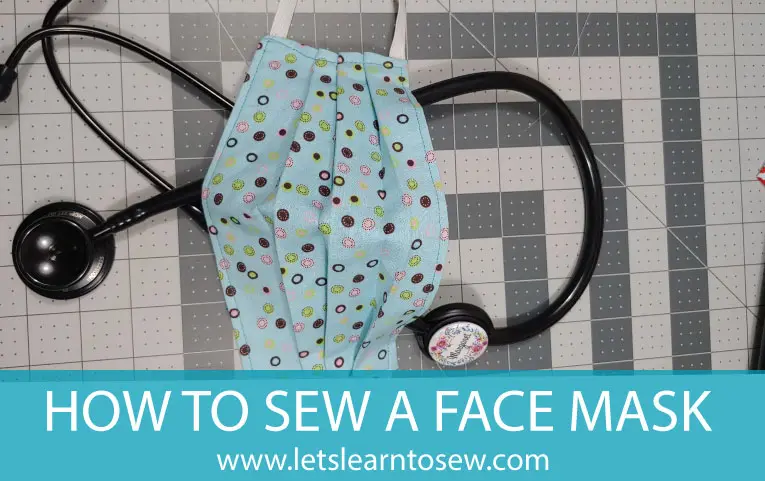
How to sew a Medical Face Mask: Video Tutorial. As a student nurse, this project is very important to me. Please join me in sewing up face mask to donate to medical facilities in need. Hospitals across the country are asking people to sew them heavy-duty masks to help during the COVID-19 outbreak.
While handmade fabric face masks are NOT a substitution for N95 masks. You can read more from the CDC here on the use of homemade masks here: Strategies for Optimizing the Supply of Facemasks.
Supplies:
Most of the supplies you'll need to sew a Medical Face Mask are most likely already in your sewing area.
- 1 piece of fabric measuring 9” x 12”
- Two pieces of ¼” width elastic. These will be about 6 ½-7” long. In the video I used ½" but ¼" would be best.
- Ruler
- Light-weight- Medium weight interfacing
- Fabric marking tool
- Pins
- Scissors
- Sewing machine, threaded.
- Iron for best results
- ¼" piecing foot is helpful if you have one but not necessary.
Directions to make face mask pattern
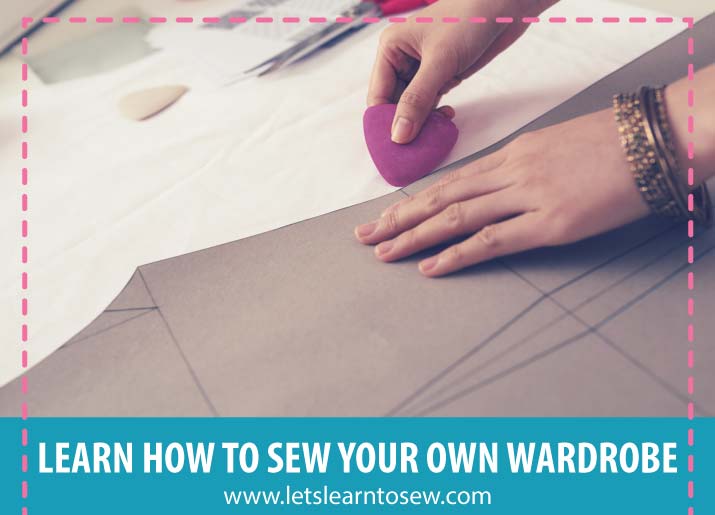
- On cardstock or paper draw a rectangle that is 9"X6". Mark one of the 9" edges with Place on Fold.
- Next, we will draw our seam allowance line. Mark this on the 9" edge opposite the "place on fold" edge. Draw a line ¼" down from that top edge.
- Now we're gonna make our center points. Line the top of your ruler up with the bottom of the ¼" line and make a mark at one and a half inches, three inches, and four and a half inches. Mark both 6" sides of the rectangle with those markings.
- Next, we need to mark the lines that will form the pleats on our mask. Again, start with the edge of the ruler lines up at the bottom of the ¼" line you made to mark the seam allowance. Make a small mark at one inch, 2 inches, two and a half, three and a half, four and 5 inches.
- Cut out the pattern
Directions to Sew a Face Mask
Using the pattern you just made cut out 1 from the fabric and 1 from your interfacing. Make sure you fold the fabric in half and line the folded edge up on the edge of the pattern marked fold. After you cut out the fabric you should have a rectangle that is 9"X12". Applying interfacing to the wrong side of the fabric. Follow the directions that came with your interfacing for the best results.
Fold the fabric in half with right sides together. Sew the top edge together with a ¼" seam allowance, leaving a 2-3" opening in the middle to turn the mask right sides out. If you have a ¼" piecing foot you may find it helpful in creating an accurate seam allowance. You now have what looks like a pouch that is open on each of the six-inch sides.
The Elastic
Once you've sewn the top edge, minus a few inches for turning it's time to add the elastic loops that will hold the mask onto the face. One piece of elastic is used on each of the 6" sides. Place the end of the elastic on the inside of the pouch-like rectangle against each seam. Make sure the elastic is not twisted. Pin the elastic in place and then sew the edge shut. Repeat on both sides of the rectangle. Turn right-side out and press.
Forming the Pleats
Transfer the pleat markings from the pattern onto the fabric and fold the pleats as shown in the video.
Topstitching
Once the pleats are formed topstitch around the entire mask. When you get to the pleats go slow and if necessary "walk" the needle over the pleats by turning the handwheel toward you. This shouldn't be necessary with most machines if you are using a light or medium weight cotton fabric.
New To Sewing?
If you're new to sewing and still want to make these you may find the videos and articles sewing 101 helpful. Also, be sure to visit our tutorial and classroom pages for lots of sewing tutorials and free projects.
More face mask information
If you’re interested in participating, here are some links with more information:






mariahkrystaldotcom
This is going to be so helpful to many. Especially those healthcare workers who are told to reuse theirs.
Jennifer
I have no idea how to sew but I wish I did! My mom has been making some of thes . Such a great idea!
supal
Thank you so much for sharing this tutorial! I'm thinking of making them over the weekends to give me something to do and offer my help!
Anonymous
What a great resource to have in a time like the present. It's so unfortunate & heartbreaking that our medical staff & people working on the front line of this virus are running out of supplies like masks.
Claire
Fascinating! It hasn't crossed my mind to do this, but would be a great idea at the moment... awesome post!
Jen
I have a friend who just shared that she was learning to make these! I wonder if she was reading this blog. This is such useful information- thank you for sharing!
jenzel.se
OH i love this!!
Just what we need in this time!
I will have to try 🙂
Have a nice day
Hollysbirdnest
Thank you for this! I have family members who are in the medical field and they have run out of masks