The candelwicking foot creates beautiful French or Colonial knots onto fabric. This would normally involve many hours of hand sewing work. In this post, I’ll show you How to use the Sewing Machine Candlewicking Foot.
What a Candlewicking Foot Looks Like
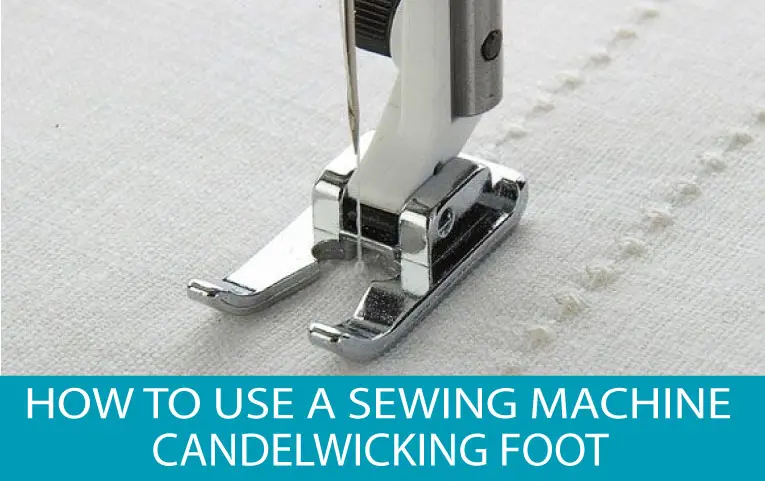
This is usually a metal foot that snaps on. The foot is open at the front with wide access to allow good visibility. On the underside of the foot, the foot has a deep groove. The groove accommodates the build-up of stitches. This allows the stitches to pass below the foot without being hindered.
How The Candlewicking Foot Works
The traditional use of knots to form the texture of a candelwick design is produced with dense machine stitches to create what looks like a knot. These are usually built-in stitches. The wide toe area on the foot allows the stitches to viewed as the machine stitches and allows for ease of following the design traced onto the fabric. If your sewing machine does not have specific candelwicking stitches, look for stitches that have a knot-like design. Stars or closely stitched satin stitches work well. If you have an electronic machine that has a memory you can usually program in a design and save it.
What Thread To Use For Candlewicking
Traditionally candelwicking was done with thick thread or embroidery floss in wither white or beige. candlewicking thread.
How to use the Candlewicking Foot
- Attach the candlewicking foot to your sewing machine. Select a knot-like stitch for candelwicking by choosing one of your built-in stitches or programming one of your own.
- Transfer a design to the fabric using either an iron-on design or creating it using fade-away or wash-away fabric marking pens. Draw the outline or a series of dots to use as a guide while sewing.
- Thread your machine with candelwicking thread or a similar type of thread if you want the raised design to stand out.
- Follow the guidelines to complete the design.
- Depending on your machine the knots or dots may be connected with a tiny string. I have found that the easiest way to clip them is with curved scissors or snips.
More Sewing Machine Feet post and Videos
Looking for more sewing machine feet post? You will be able to find each of the posts under the category Sewing Machine Feet.

Love this! Will definitely have more use for the candlewicking foot now.