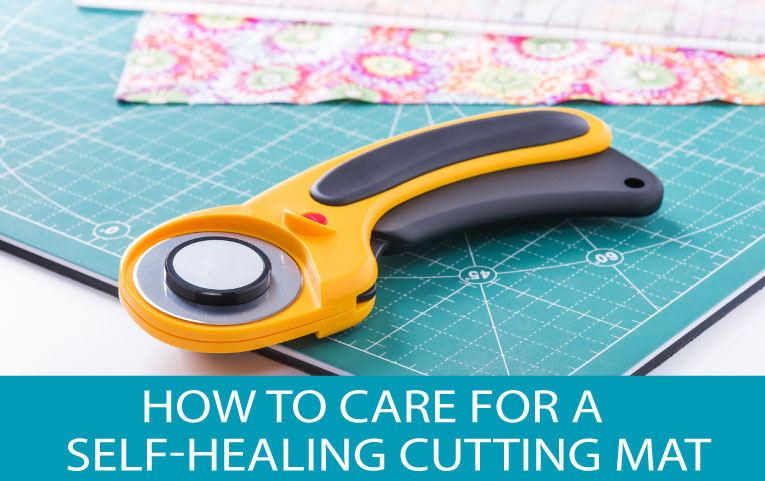
When was the last time you took a close look at the condition of your rotary cutting mat? Chances are it’s been a while. Cutting mats are one of the tools we rely heavily upon. It is also one we seldom give much thought to until there is a problem. In this post, I thought I’d share with you how to care for a rotary self-healing cutting mat. Caring for your mat now will save you time, trouble, and money.
What is a Rotary Cutting Mat
The self-healing rotary cutting mats are one of the sewing notions that I think every sewist should have if at all possible. They are slightly more expensive than non-self-healing After using a rotary cutter, the surface of the green self-healing mats will “heal” or close after cutting with a razor-sharp rotary cutter thus leaving no visible slice in the mat. There is a practical limit to the amount of slicing and dicing these things can take and eventually will need to be replaced. Keep an eye on the surface and if you begin to see visible marks on the surface it is probably time to consider a replacement. Even if you aren’t seeing any surface damage but you are having to push down on the rotary cutter with additional force, for safety sake consider a replacement.
While rotary cutting mats can absorb quite a bit from a rotary cutter, they do not fare as well against other sharp objects. Try to avoid piercing the surface with pins or needles etc. And a not from personal experience, it is a good idea to move the mat or cut in a different location when using scissors. Mats can heal a lot of things, but getting cut in half is not one of them.
Self-Healing Vs Regular Cutting Mat
Both types of cutting mats protect the work surface from damage and prevent your knife blade from dulling quickly. Cutting mats are described as either hard-surface or self-healing. Hard-surface mats are more rigid and more rugged since the blade skims over the mat surface without cutting into it. Self-healing types are thinner and more flexible. Cutting blades create tiny scratches in the mat surface that reclose afterward which is why it is called self-healing.
Cleaning Rotary Cutting Mats
All that is needed is a lint-free cloth and a solution of mild dishwashing liquid and water. There are also specific cleaners on the market as well, but a little soap and water seem just as convenient. Just avoid using any harsh cleaning chemicals or liquids especially those that may contain alcohol and/or ammonia.
- Remove loose threads: when you are cutting very linty fabrics you may notice a little trail of fibers sticking to the mat where you just made a cut. They don’t stick to the mat as much as they are stuck IN the mat. It is important to clean the fabric bits out of the mat so it can get back to healing the cut. Fibers that are embedded in the mat can be extracted with a little bit of friction, use your thumb or finger and rub along the line where the fiber is and the should come right out. A small rubber tool could also be used, just not anything that would leave residue behind, like a pencil eraser. I have several different erasers in my sewing room and I’ve found the white eraser works best.
- Prepare the Cleaning Solutions: Mix a little mild dishwashing liquid with cool water. Gently wipe the mat clean using a soft, non-abrasive cloth.
- Rinse the Mat: Be sure to rinse it well and only use cool water to clean and rinse it. You don’t want to use any chemicals on the mat because these can damage the markings.
- Dry the Mat: You can dry the mat with a cloth or allow it to air dry.
Travel and Storage for Rotary Cutting Mats
When transporting a mat be very conscious to not roll the mat. Rolling a mat will cause the cuts to open up and the mat can crack. Along with not rolling the mat up, keep it out of direct sunlight and avoid extreme temperatures for your mat.
Rotary Cutting Mat Care Tips
- Don’t Roll Up Your Mats
- Avoid Direct Sunlight
- Stay Clear of Extreme Temperatures
- Remove Fibers From Cuts
- Clean Up Messes With A Gentle Soap and Water Solution
When you keep your mat clean and properly cared for, you’ll extend the life of the mat for years.
More sewing Tool Articles you May Enjoy: